Creating Your Business Account
Note: This page is for creating a new business account for you and your staff/colleagues to use Ralli. If your business already has an account, and you are looking for help on how to setup a user account from an email invite, please check out this article.
If you don't know if you're already a member of a business, try and login with your work email and we'll show you if you are.
Ralli allows you to manage multiple businesses with an easy switcher within the platform. This means you can setup multiple business profiles and manage your different accounts in one easy dashboard.
If you've already create a business, and you're just looking for help on how to setup a second one, please jump forward to the creating a second business section.
Creating Your First Ever Business
If you've never created a business on Ralli, head on over to the signup page.
Sign Your Business up for Ralli
Opens in a new tab
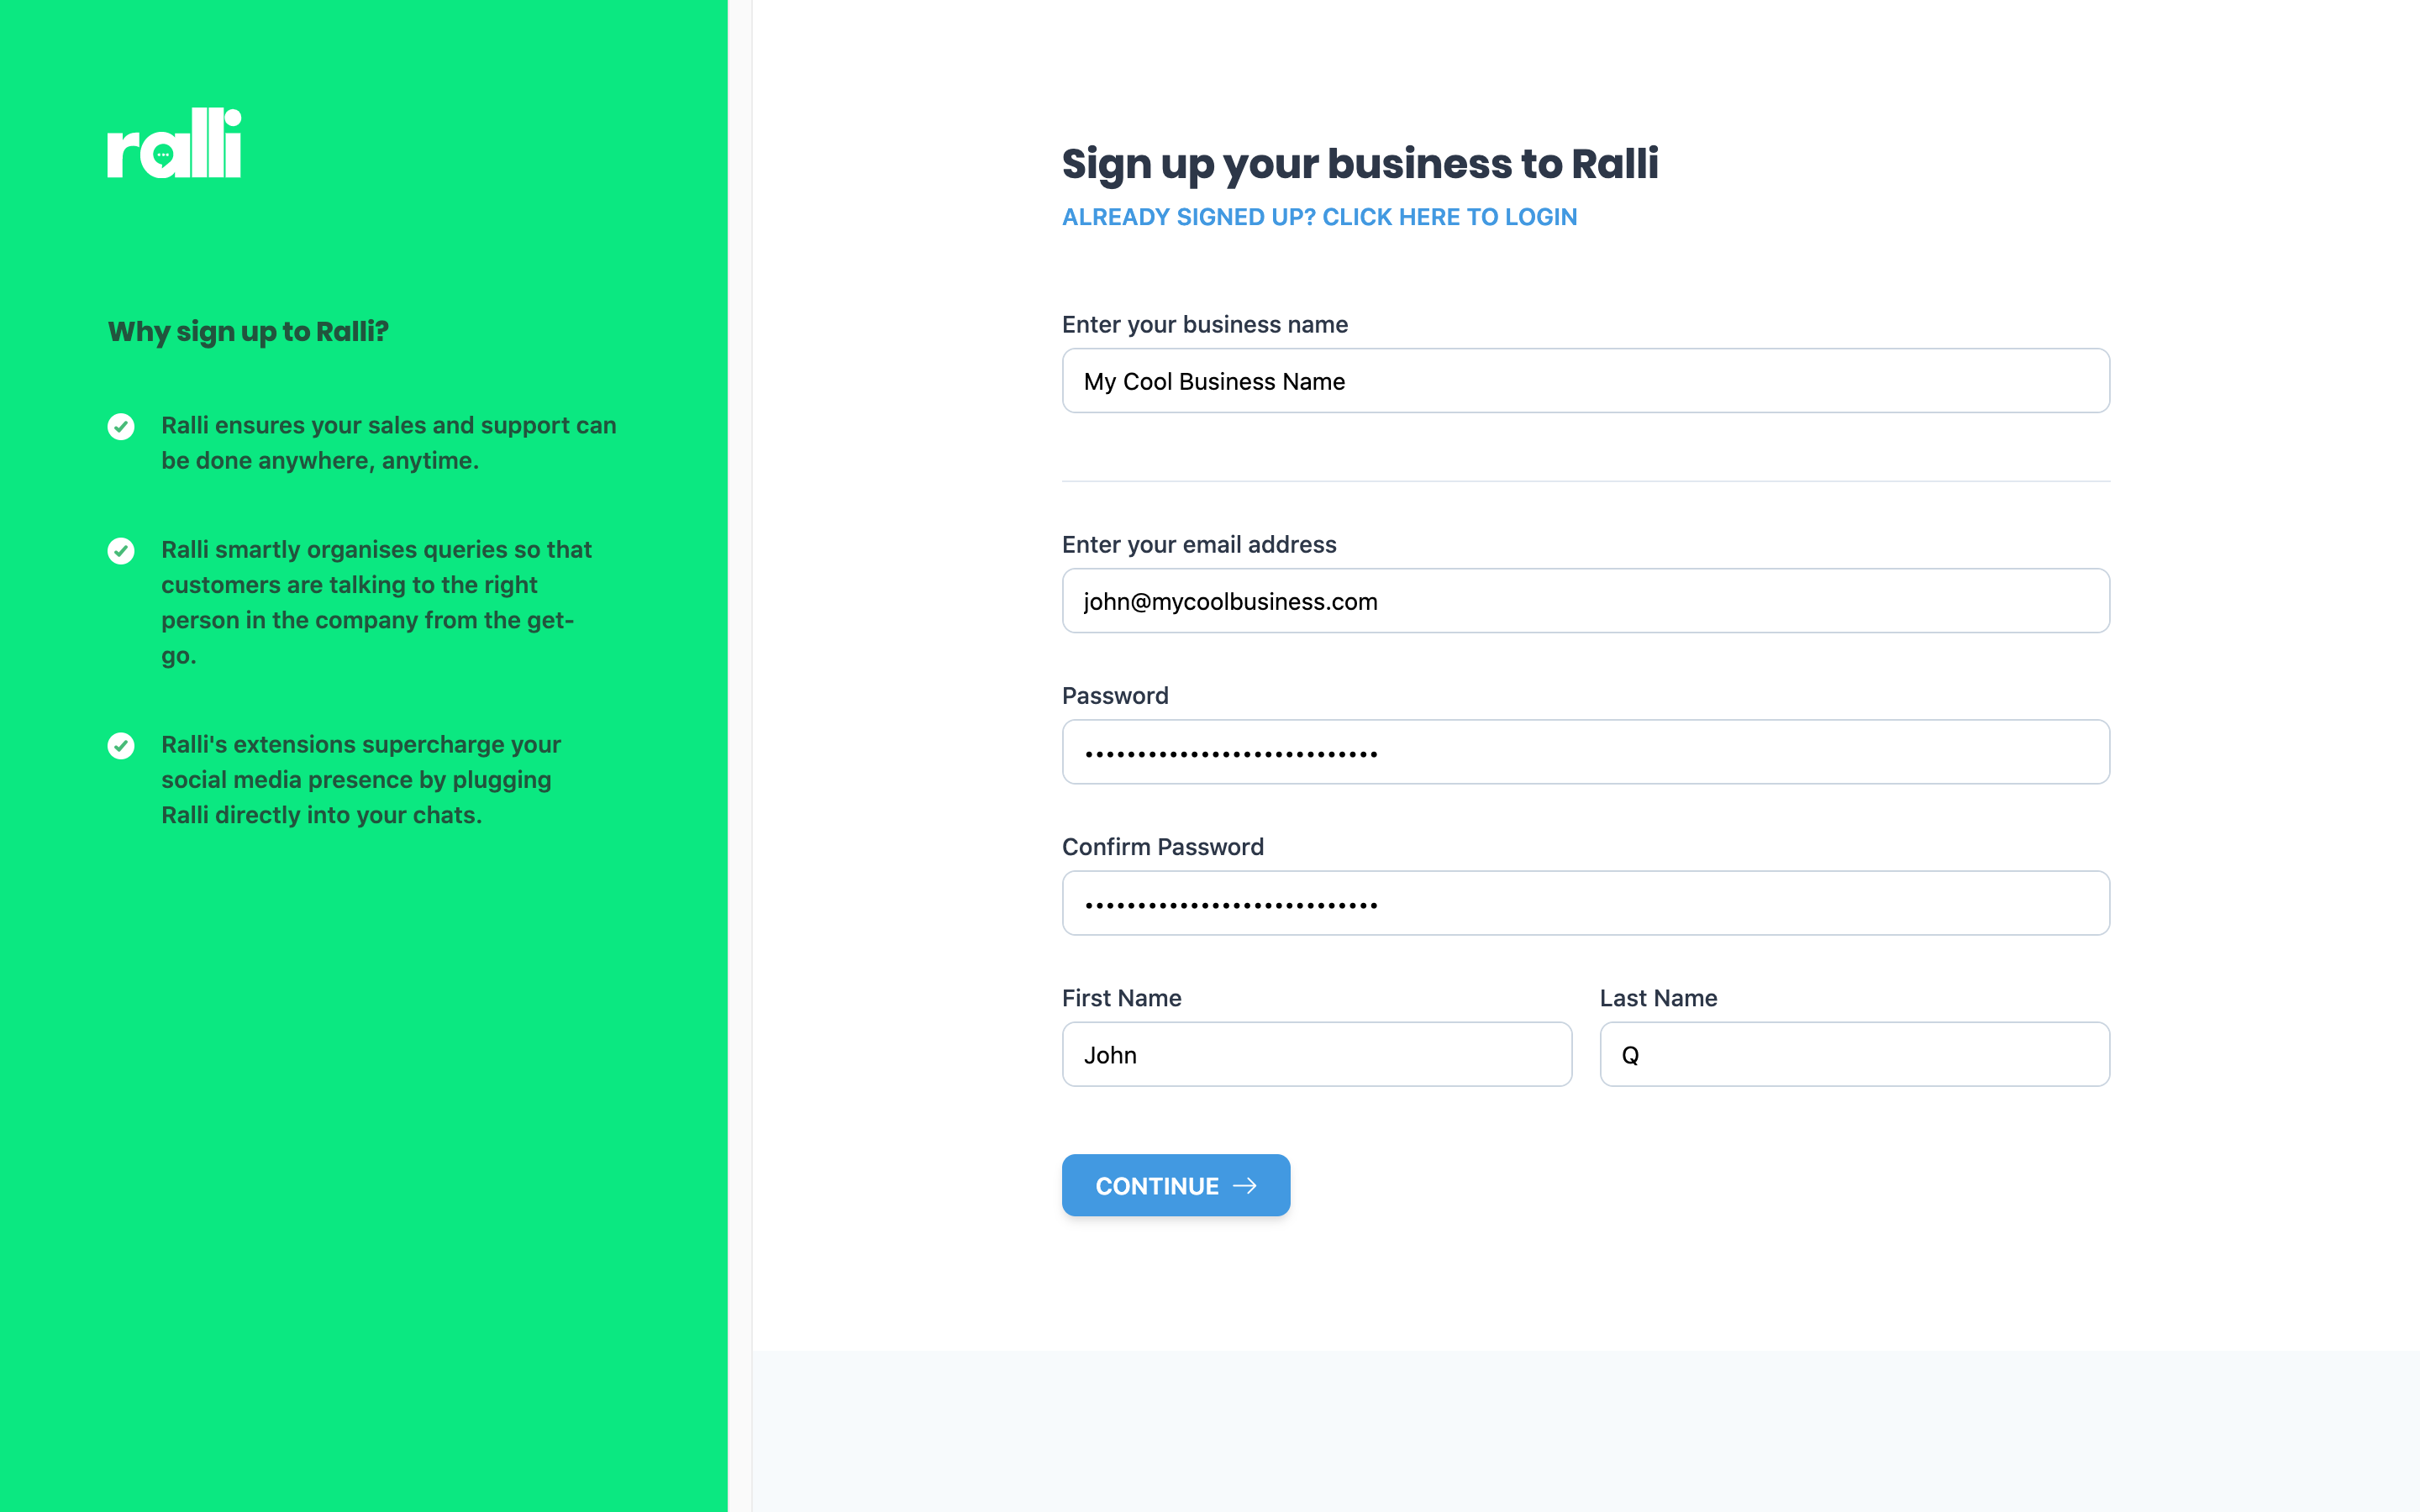
This page has two separate steps:
- Collecting your business' details
- Collecting your personal details
Enter Your Business Name
Enter the name of your business as you want it to be known on the platform. This will typically be the trading name (or the one you use for your social media presence).
We will collect a few more details in the next steps, but that's all we need to get going for now!
Enter Your Account Details
Enter your details, these are what you will use to sign in to the Ralli mobile apps and web platform.
Usual disclaimers apply: please create a unique password and do not share this password with anyone else - including Ralli's support team. We will never ask you to provide your password to us. We will invite other people within your business in the next steps - and they will each have their own logins (so please don't share this login with them - we don't charge per user so no need to work around that!).
Email Verification
We need you to verify your email, annoying, sorry
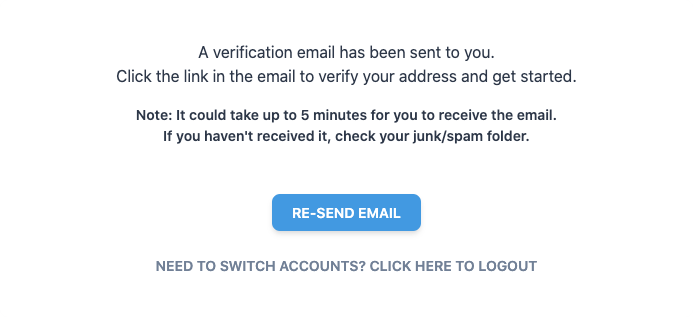
You should receive the email immediately, but please check spam folders just in case. If you don't receive an email, please reach out to us (hint: chat plugin in the bottom right hand corner ) and we'll get you back on track immediately.
Once you've got your email verified, jump ahead to the onboarding section.
Creating a Second Business
Creating a second (or however many) business is a very similar process as to creating your first one. You will need to head over to the business sign-up page:
Sign Your Next Business up for Ralli
Opens in a new tab
Fill out the form as you did last time - just with a new business name in its place. You'll need to do the same steps as you did the first time otherwise (including email verification sorry ).
Please note, each new Ralli business does incur a new monthly fee as our pricing is per business per month. So please only do this if you are sure your brands/businesses are totally unique.
What if I want to use the same email address as my other account?
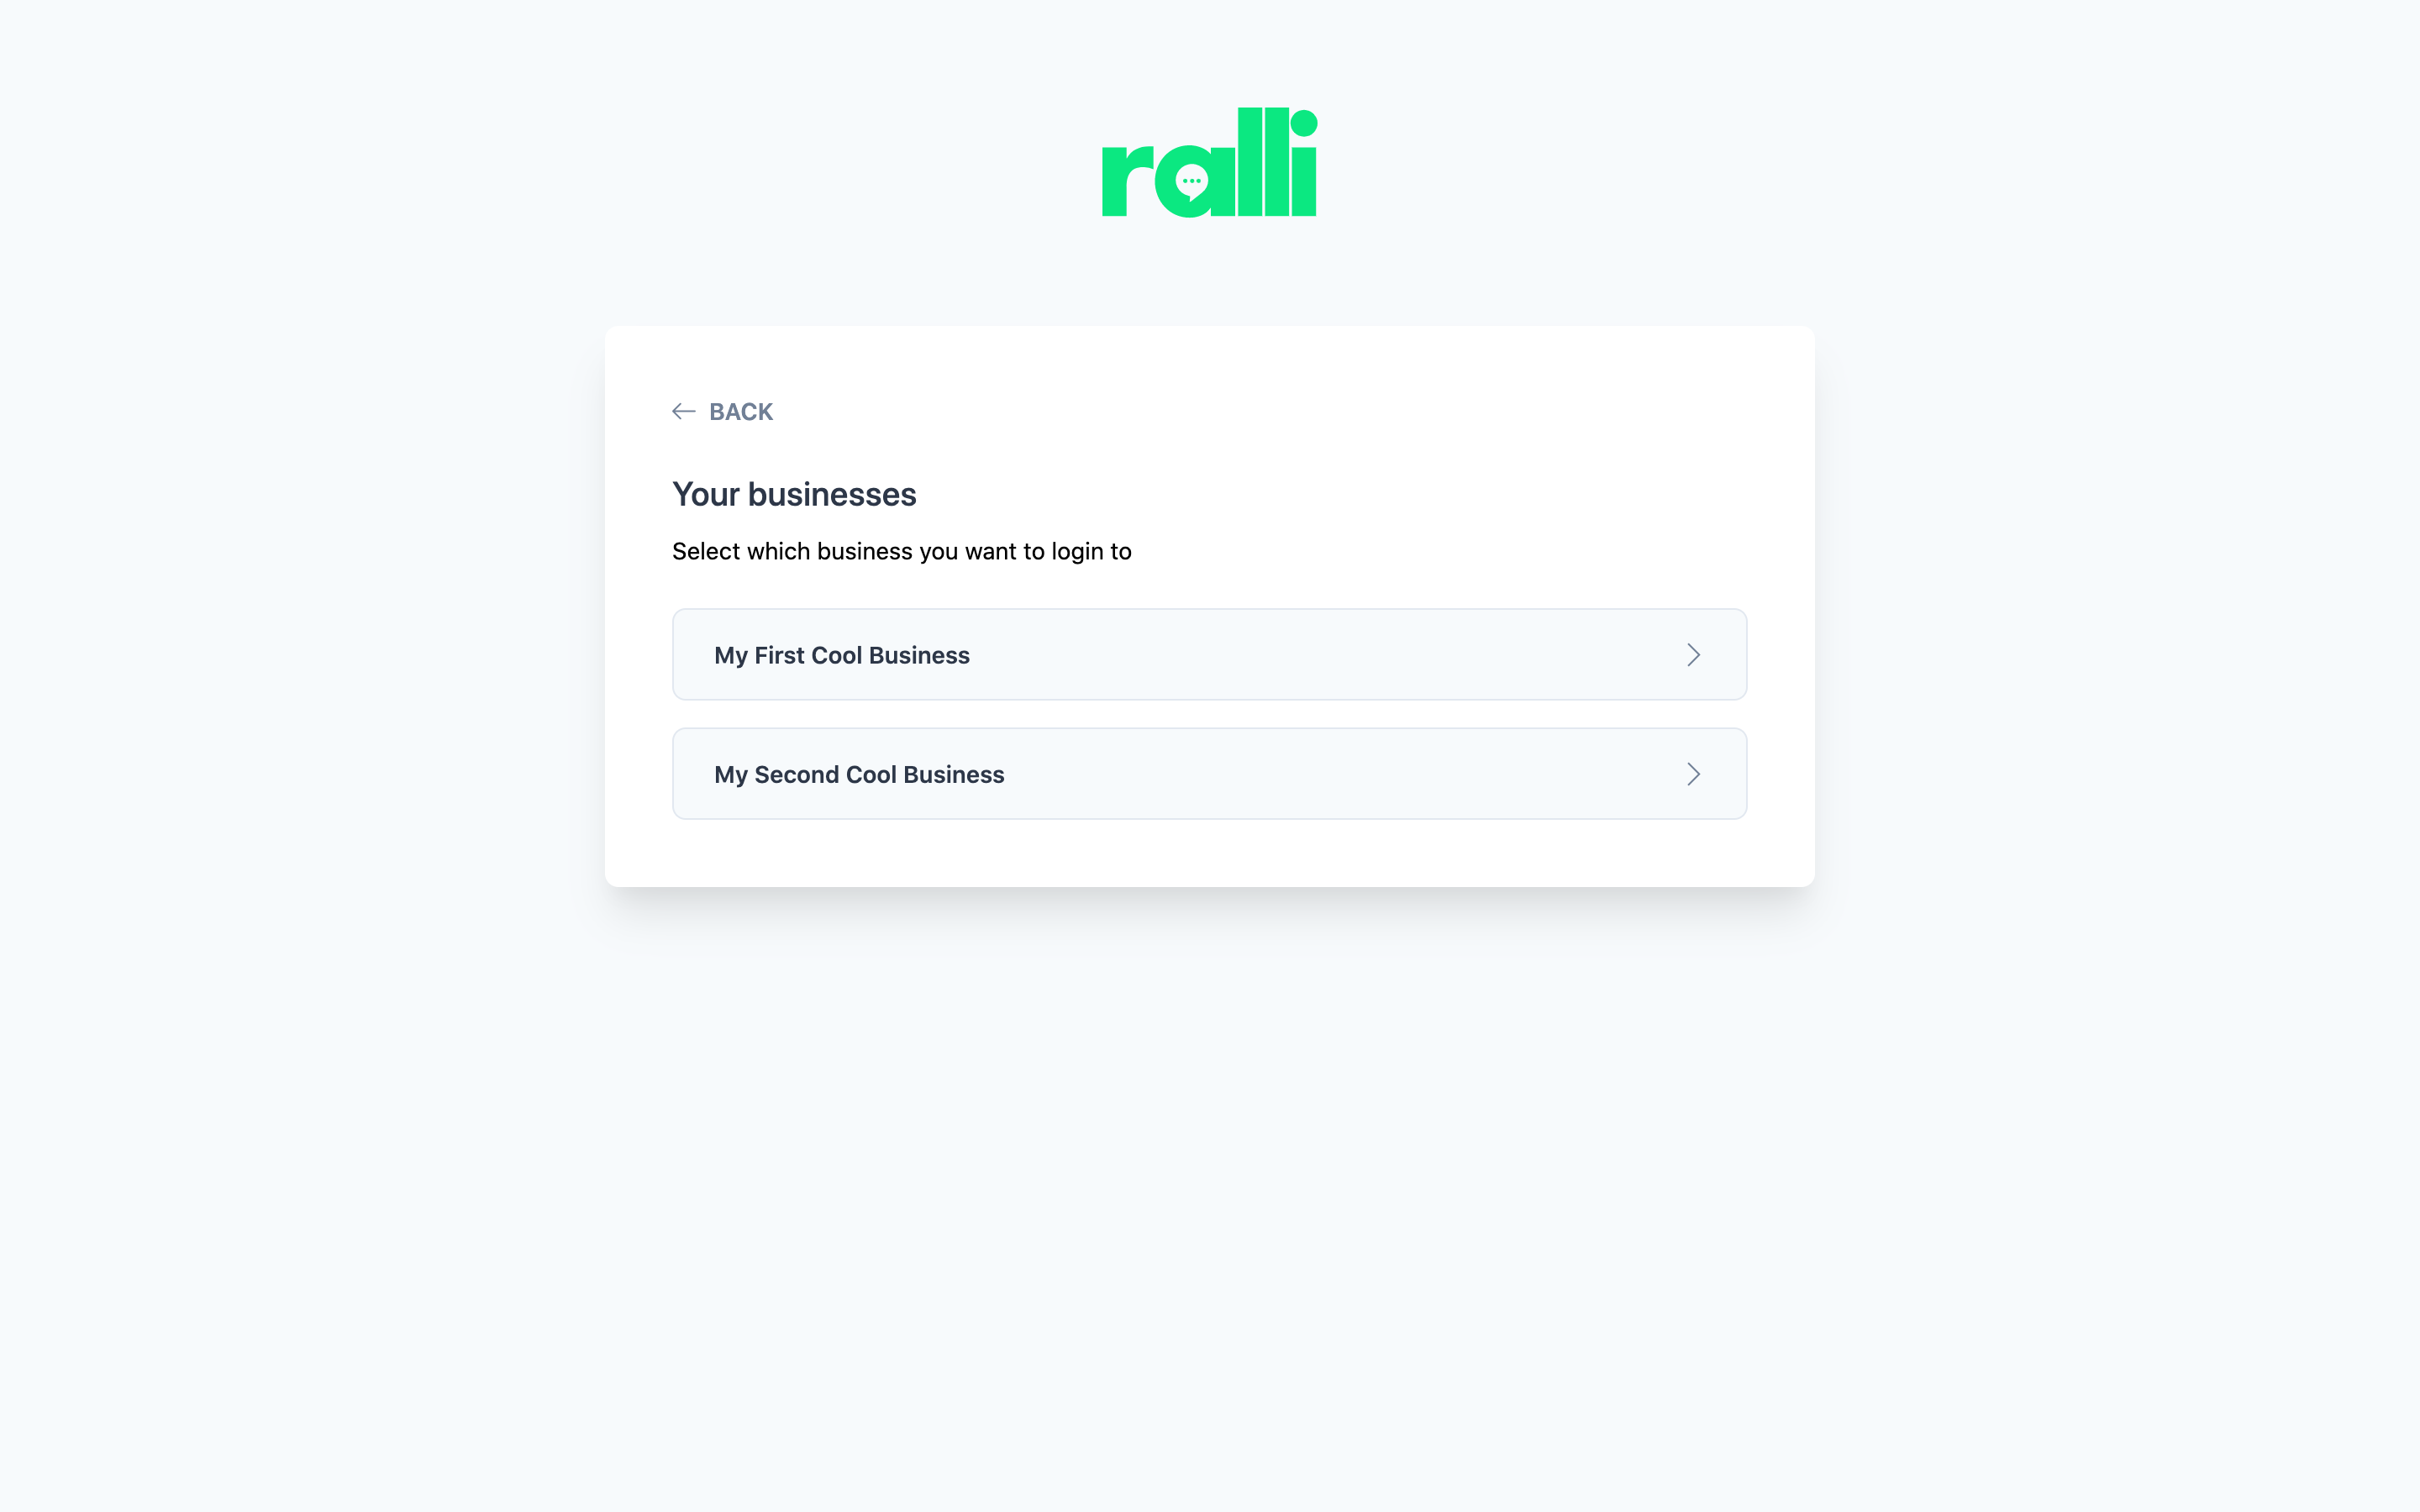
No problem! That's the only potentially confusing part about setting up a second business. You are free to use the same email address and details as you did for your previous business (if you want to). When you go to sign in to Ralli for the first time on a new device, we will ask you which business you want to login to.
Your account owns the business (1 account = 1 business), but you can have multiple accounts with the same email address and just switch between them (we promise it makes sense when you login!).
As always, we would recommend keeping your passwords different and private for each business you sign up.
Once you've got your email verified, hop along to the onboarding section (although, you're probably familiar with the process from here on out...).
Onboarding
Once your details are confirmed, the platform will run you through the onboarding process to simplify getting going with Ralli as quickly as possible.
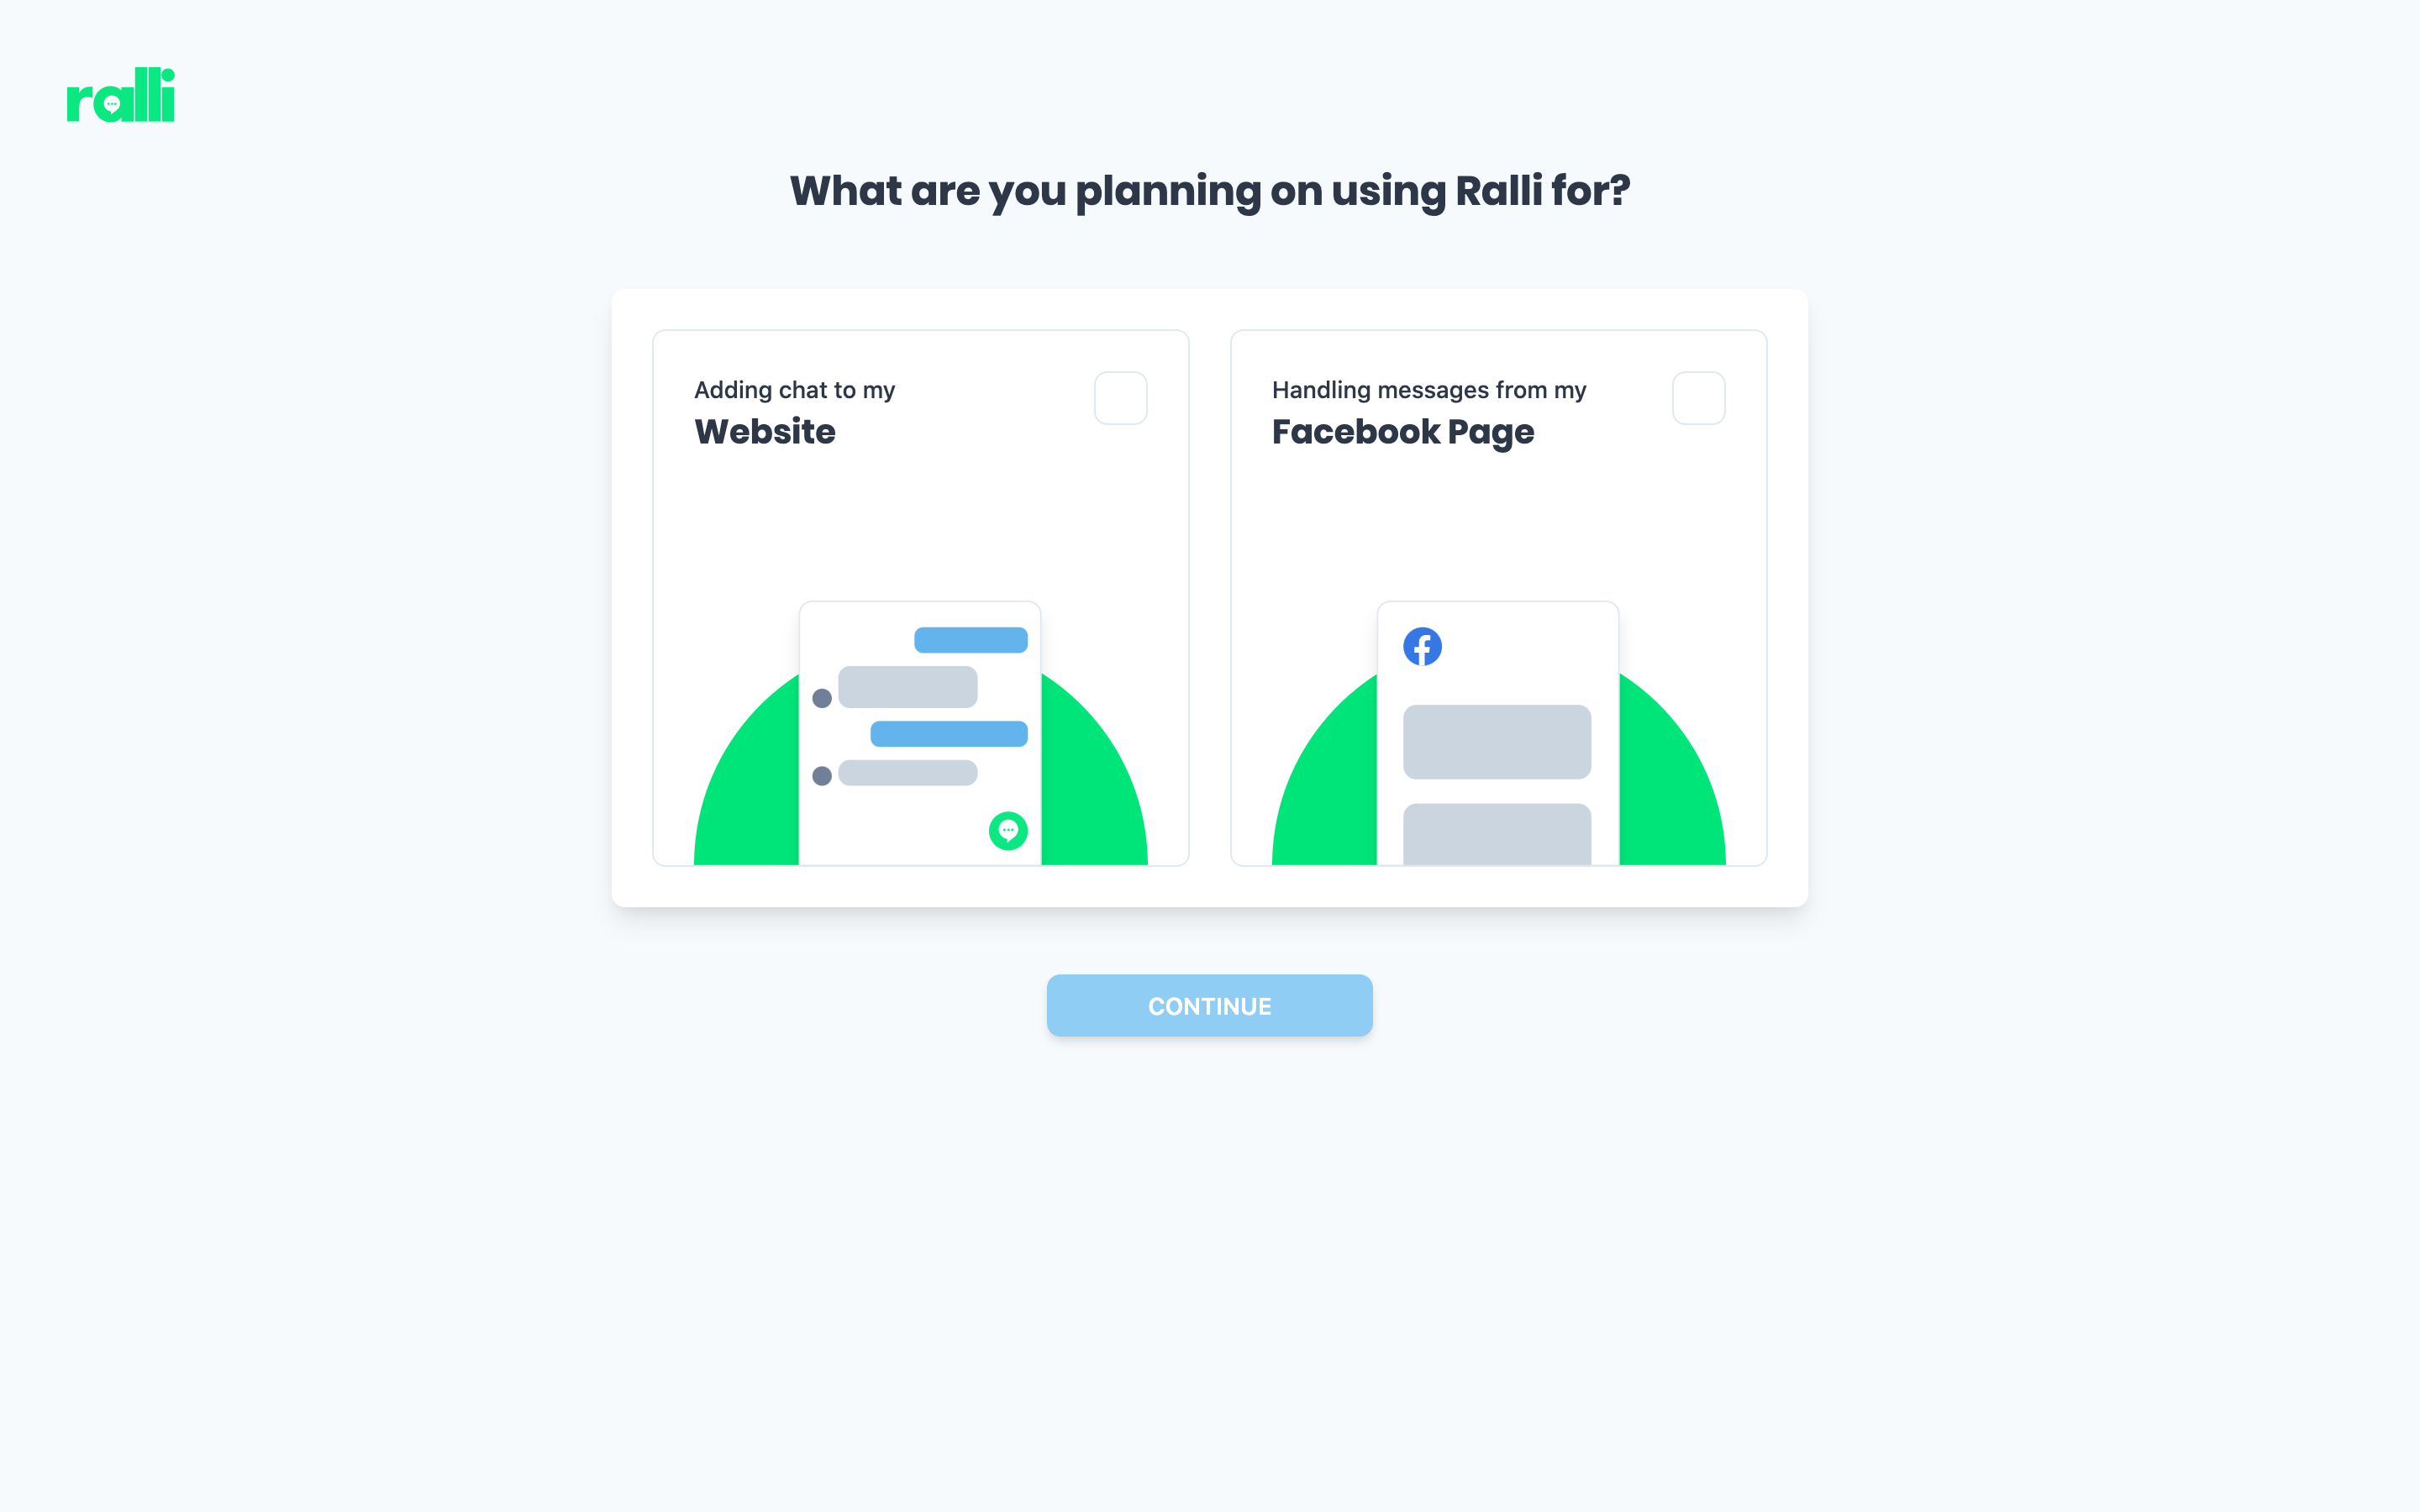
Ultimately, Ralli will allow you to do both, so don't stress the decision here too much.
If you're a little more technical, and want to use Ralli on your own website straight away, select the Adding Chat to my Website option.
If you aren't so technical, want to get going quicker, or are looking at Ralli for what it offers from a social media perspective, select the Handling messages from my Facebook Page option.
Messaging Channels
The main purpose of the onboarding process is to get your Messaging Channels configured quickly and simply.
Messaging Channels are the way your customers will talk to your business. This may be using the website chat plugin on your own website, or through Facebook Messenger.
Manage Messaging Channels
Opens in a new tab
To learn more about Messaging Channels, and what they mean for your business, check out this article.
Facebook Messenger Plugin
If you select the Handling messages from my Facebook Page option, your dashboard will display some "Getting Started" steps on what you need to do to get Ralli integrated with your Facebook page.
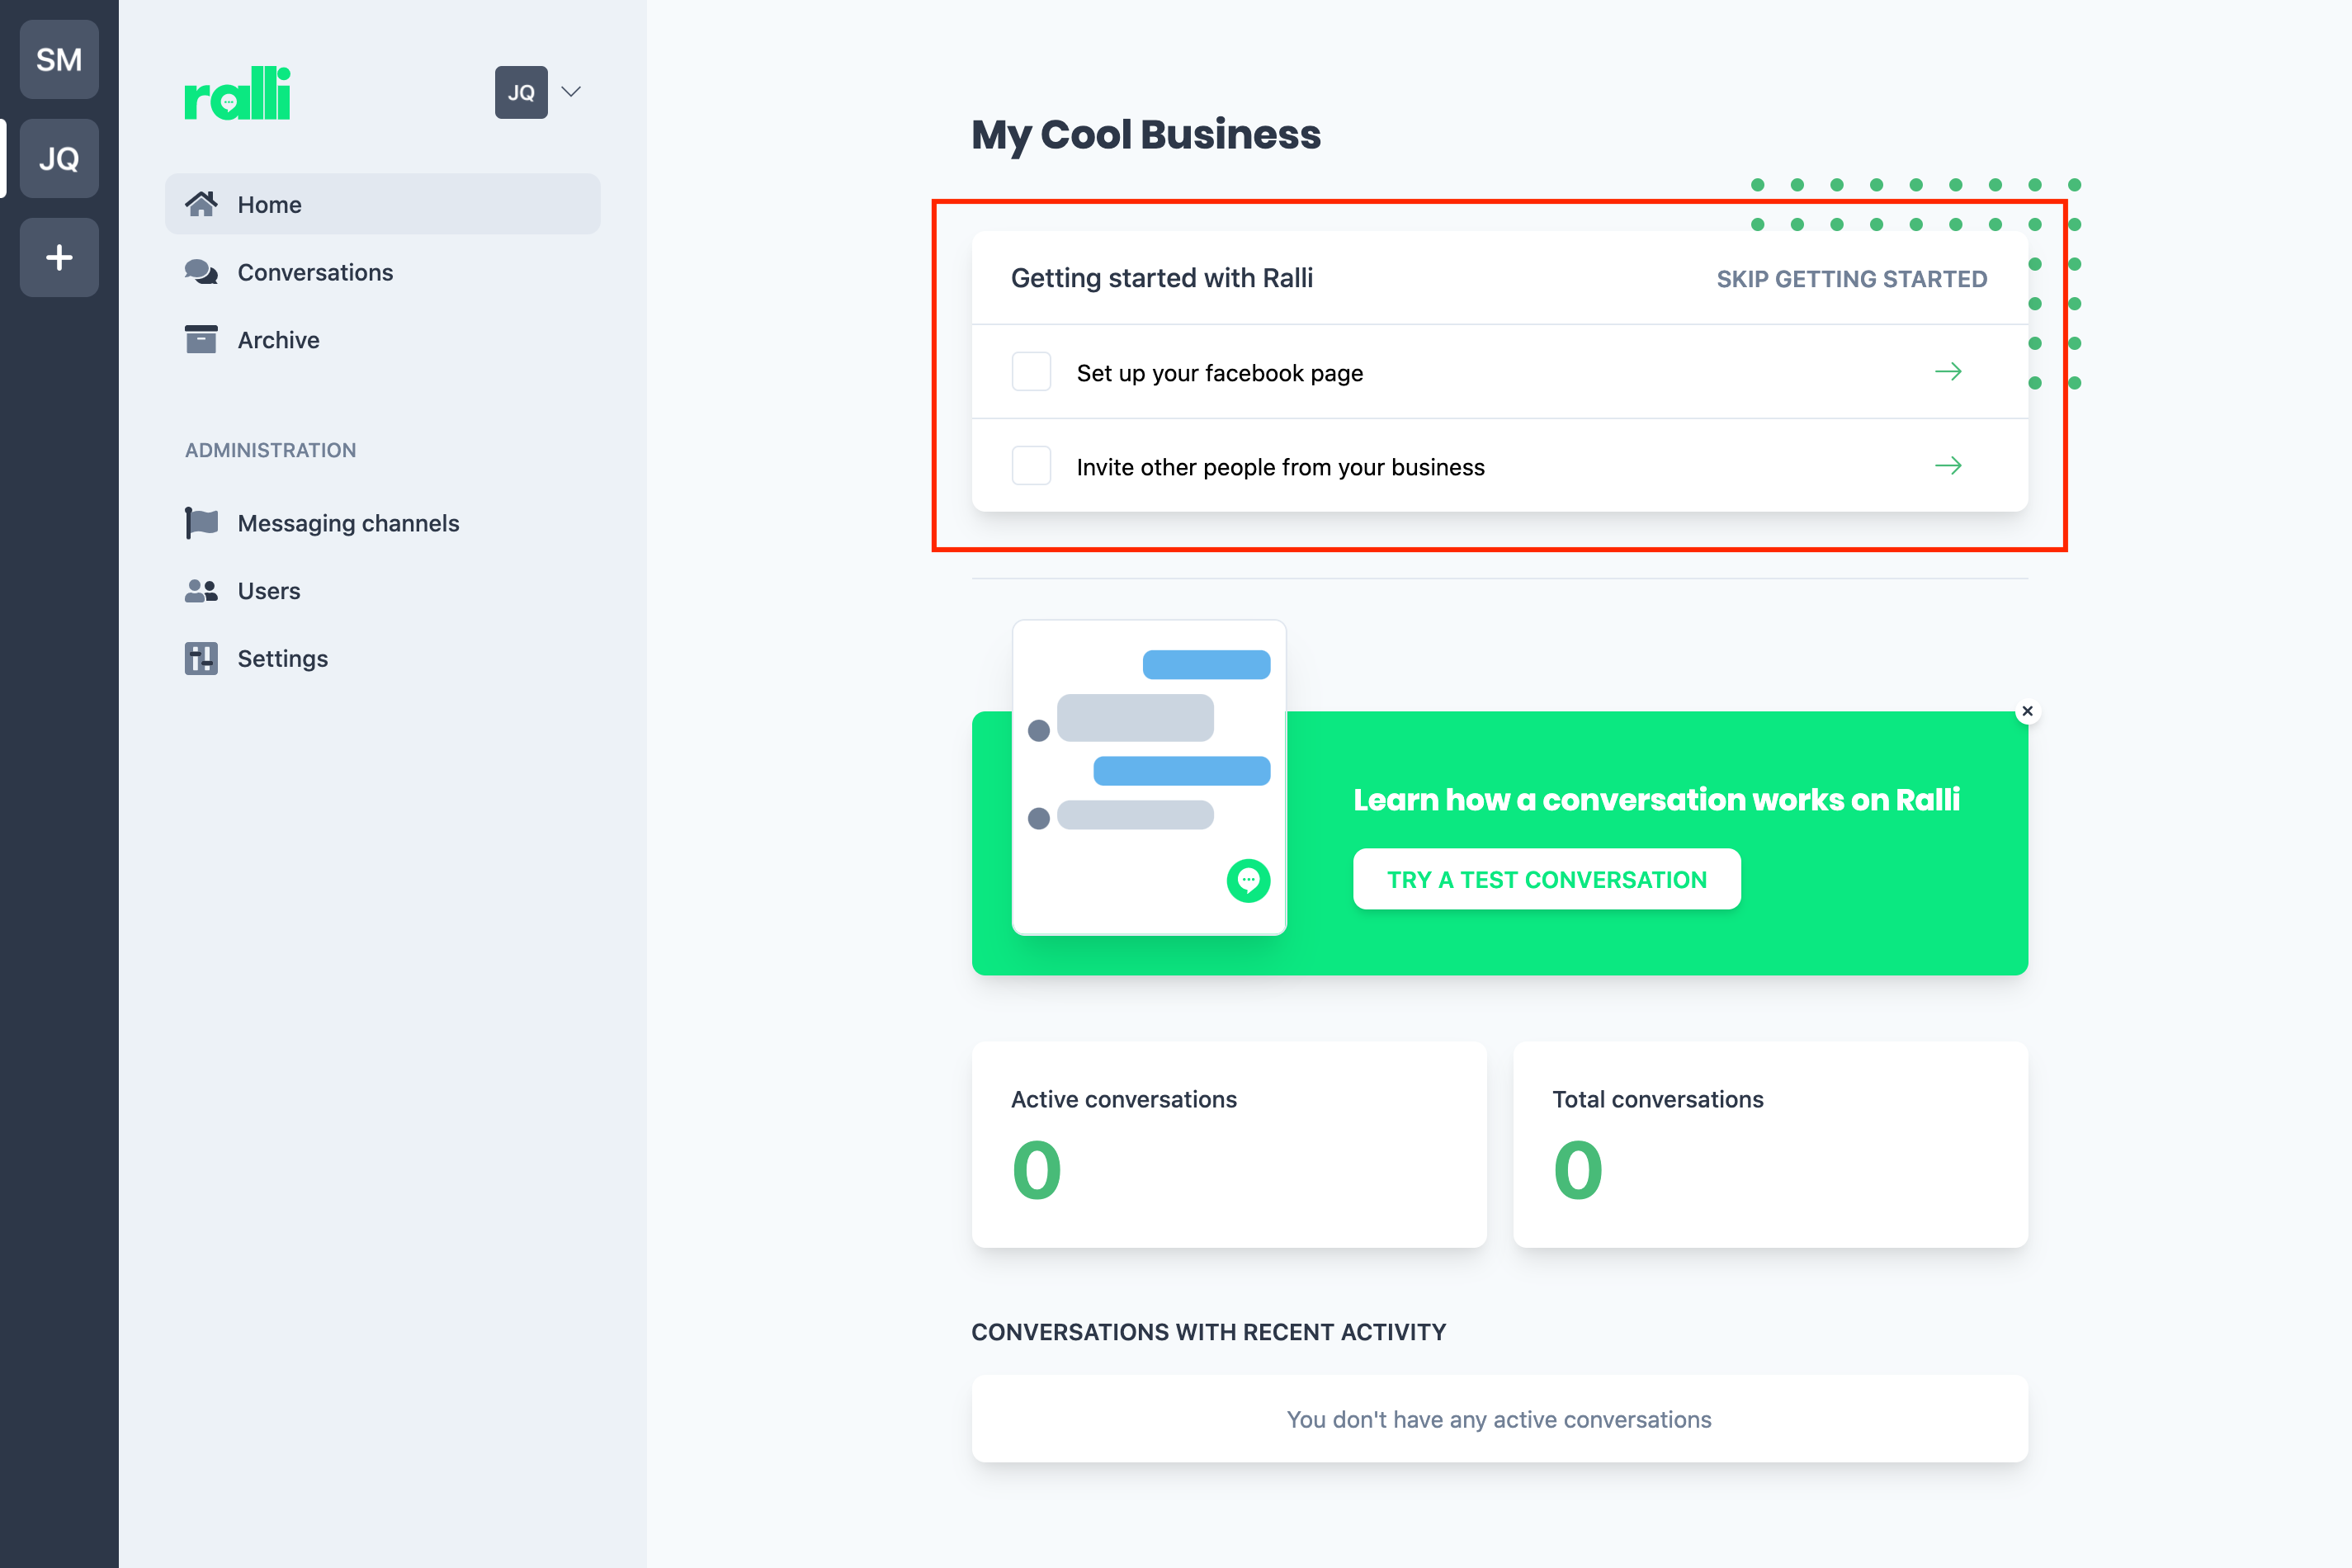
To follow the steps for setting up a Facebook Chat Plugin, check out this article.
Website Chat Plugin
If you select the Adding Chat to my Website option, your dashboard will display some "Getting Started" steps on what you need to do to get Ralli installed to your website.
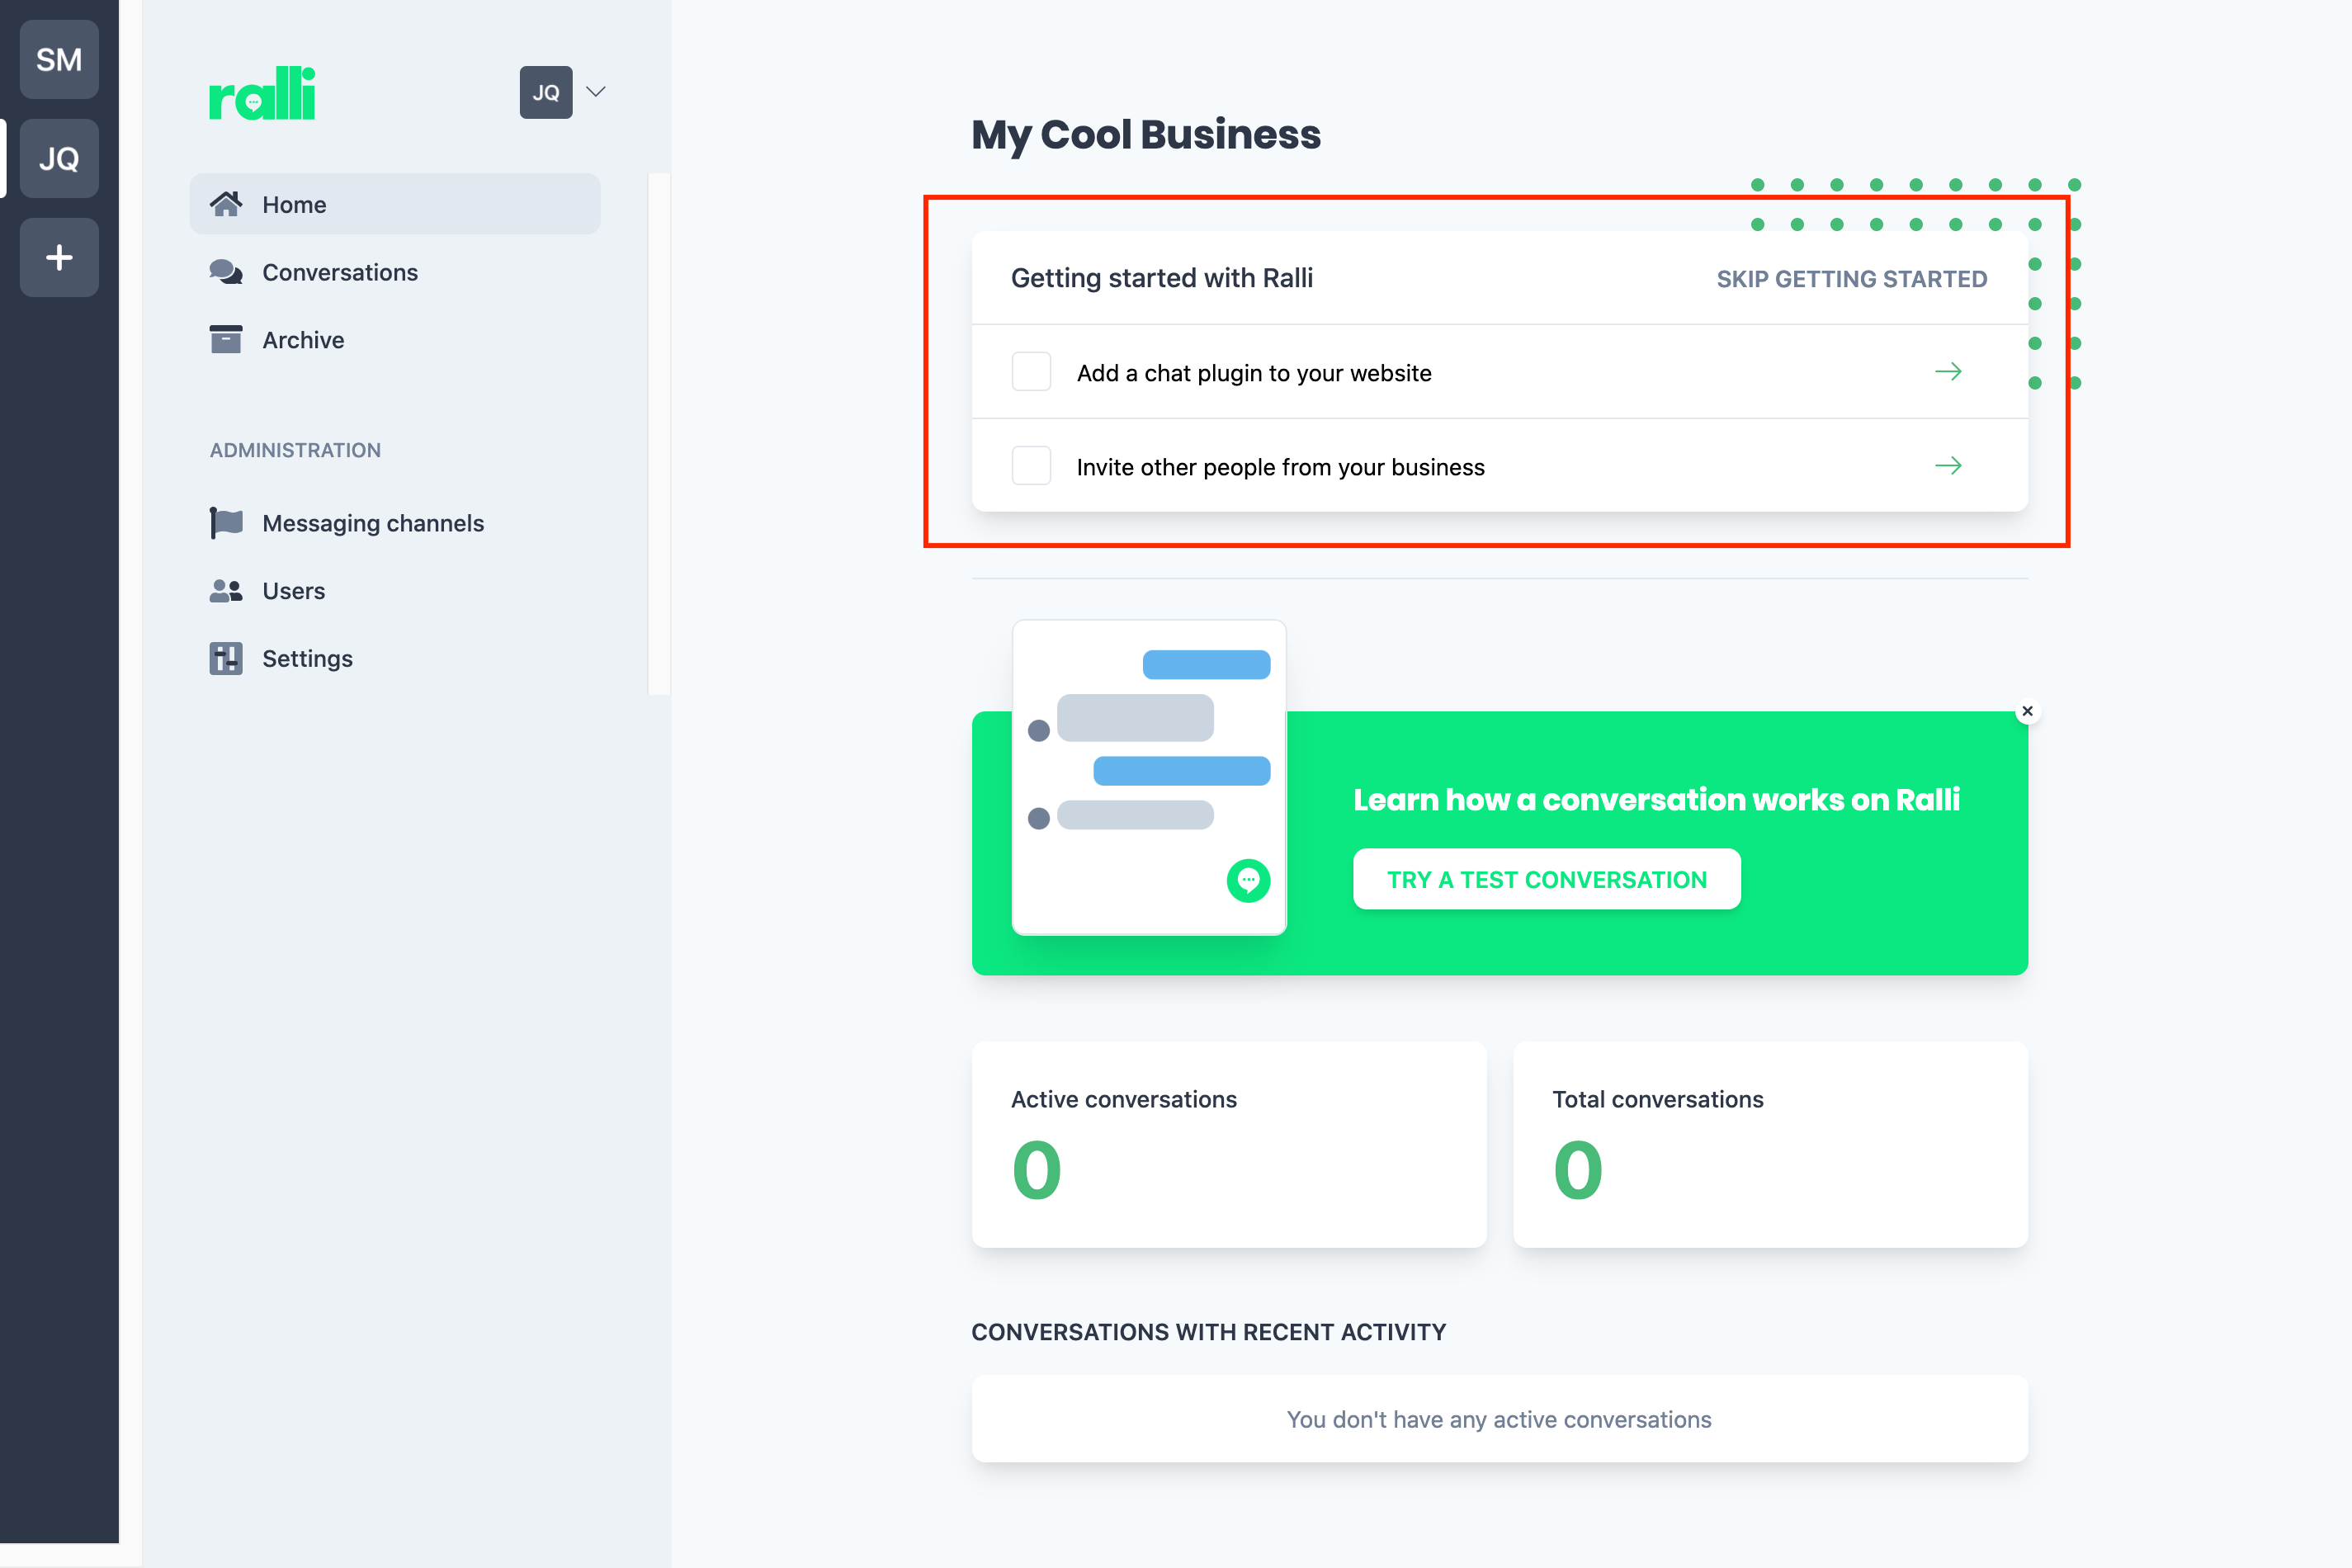
To follow the steps for setting up a Website Chat Plugin, check out this article.
Adding Users to Your Business
Managing the users in your business is straight forward too. When you invite staff to join the business, they will be able to use the mobile apps and web platform to respond to messages that come through from either the website or from Facebook.
Manage Business Users
Opens in a new tab
This is particularly useful as it means they don't have to be admins on your social media accounts - and the conversation flow means everyone knows who is responding to messages much easier.
By subscribing them to categories most relevant to their speciality, they won't get bombarded about every message coming through - they'll only get those that make sense for them to respond to.
All you need to do is enter their emails and we'll take care of the rest!

For a full run-down on how to manage your business' users/staff check out this article.