Managing Your Business' Users
Note: This will require you to be an admin over a Ralli business. If you haven't setup a business yet, please check out this guide on creating a Ralli business before continuing. If you aren't an admin of your business, please check with the person who setup the account to make sure they grant you access (send them this article!).
Invite your staff/business users to the platform and manage what they can and cannot do. The more important aspect to consider is generally which categories these users should be assigned into, and if they need admin capability.
This article is also relevant to managing your own user account, if you want to toggle off being an admin, or modify your category subscriptions.
Platform Users
Navigate to the Users management panel on the web platform:
Ralli User Management
Opens in a new tab
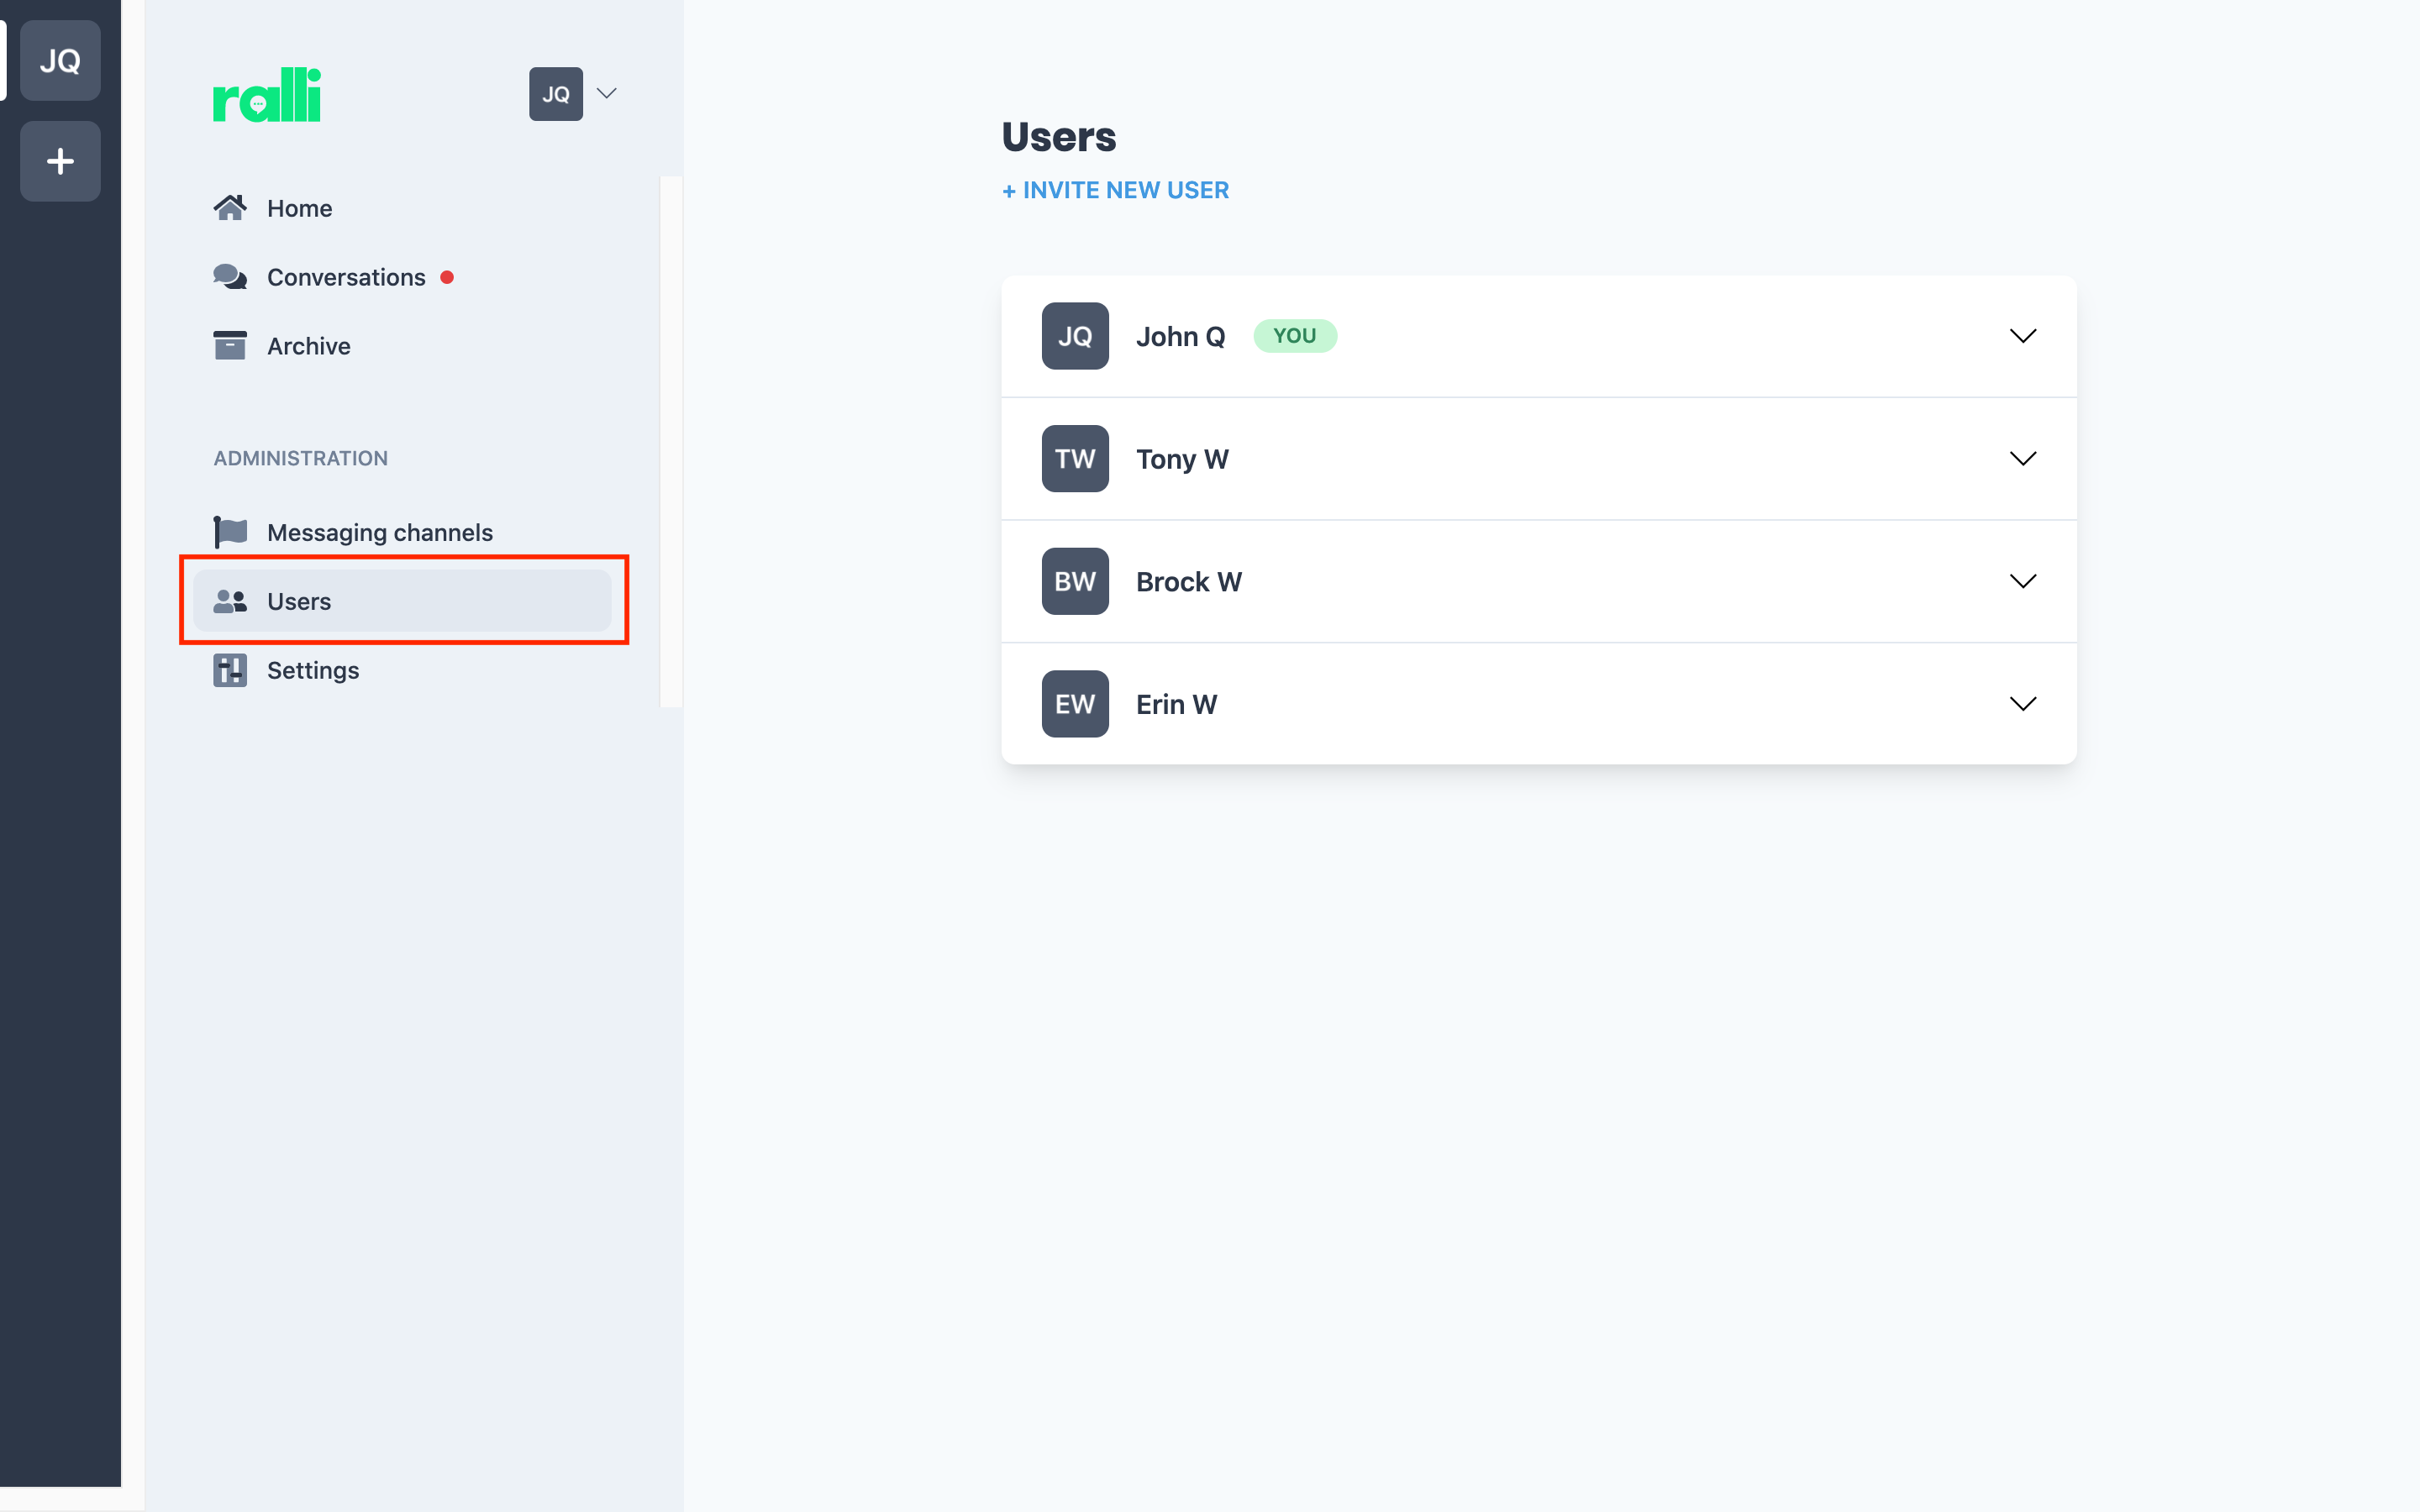
If you've only just created this business, you'll only see yourself. When you invite users, and they start to accept these invites, this list will populate and you will be able to toggle their abilities accrodingly.
Inviting a New User
The process for inviting a user is easy - the platform will do most of the heavy lifting of getting your staff onboarded. To begin, click the + Invite New User button to open the email invite dialog.
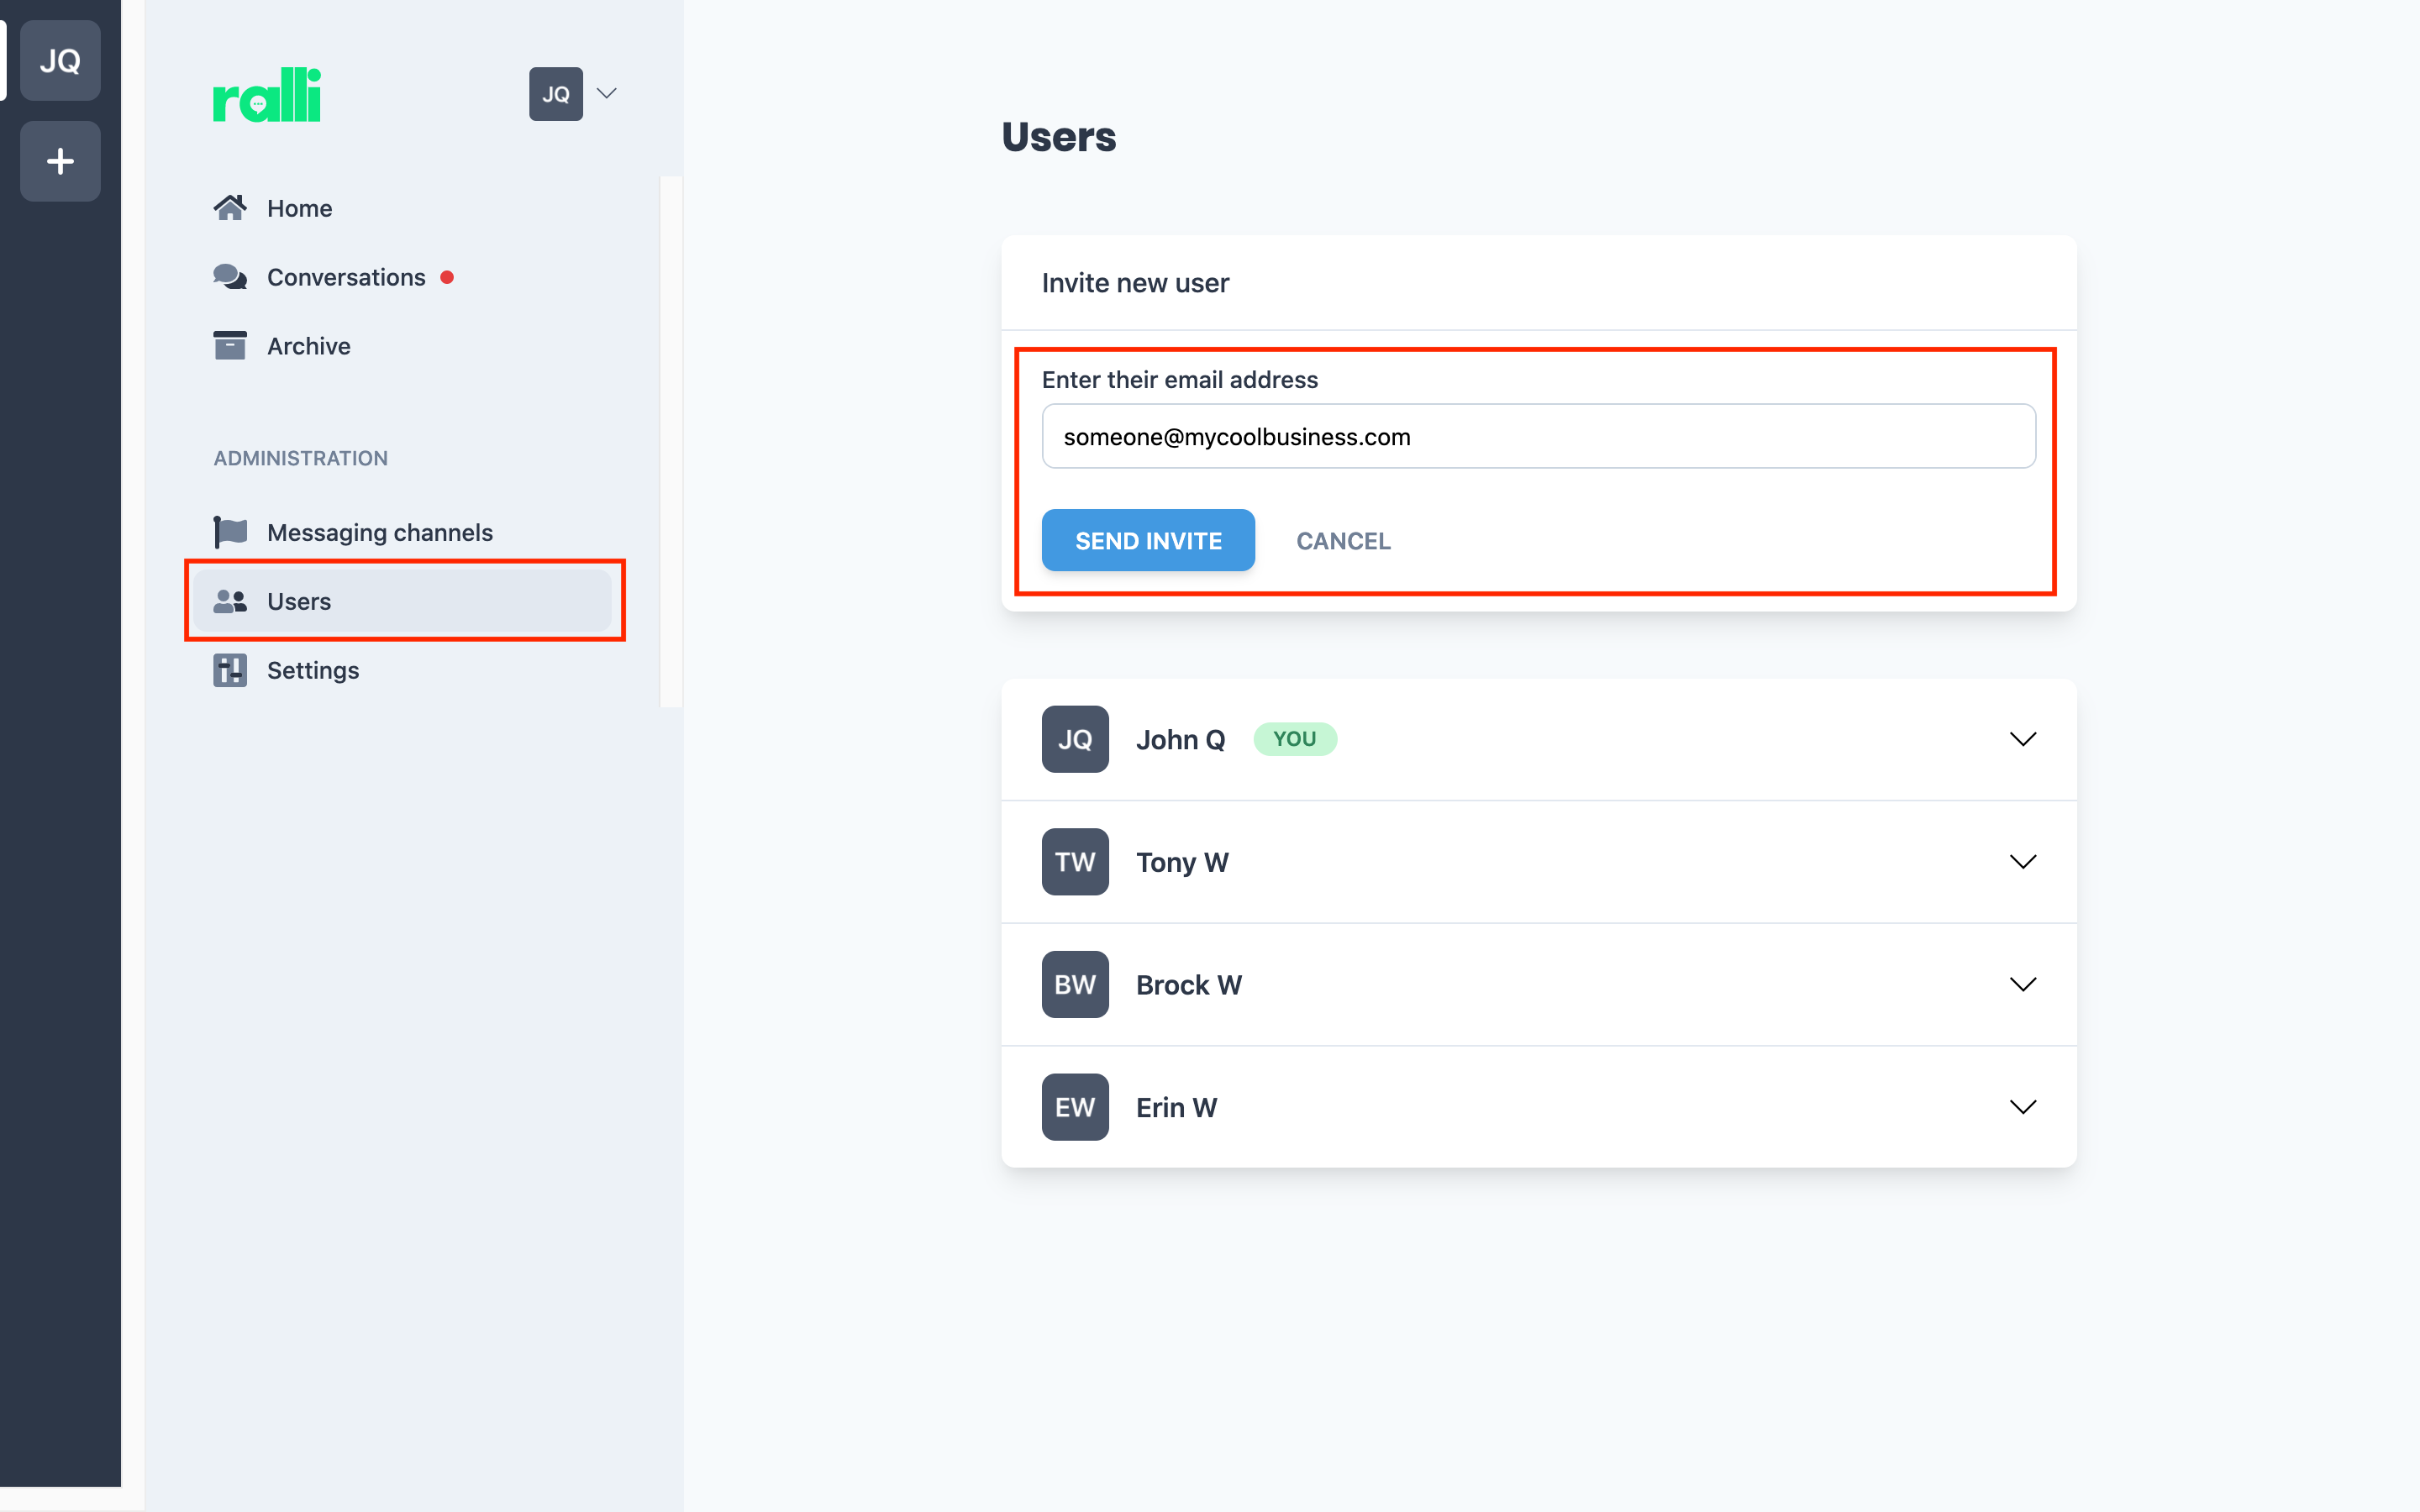
Enter any valid email address (your users don't have to have the same work email, as long as we can send it an email, they can use the platform).
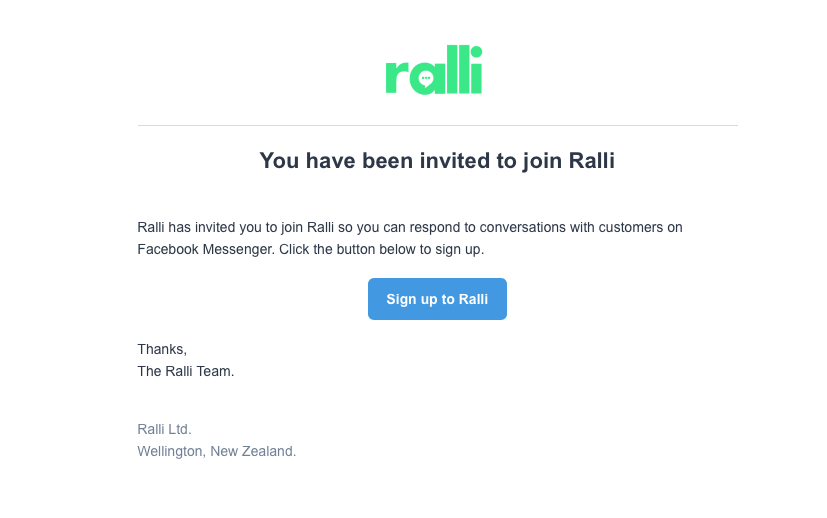
Proceed to do this for each new platform user you wish to invite. Like with your verification email when you created your business, we will send them an email inviting them to join your business.
Expiry
As a security precaution, invites are only valid for seven (7) days - after which, you will need to re-invite the user.
Missing Emails
Emails can take up to five (5) minutes to filter through - please ask users to check their junk email if they don't receive them. If these emails do not come through, please contact us and we will jump in.
Managing Invited Users
When you have pending invites for users, your user dashboard will updated to have a separate tab for those outstanding invites. To manage these users, click on the new Invited Users tab.
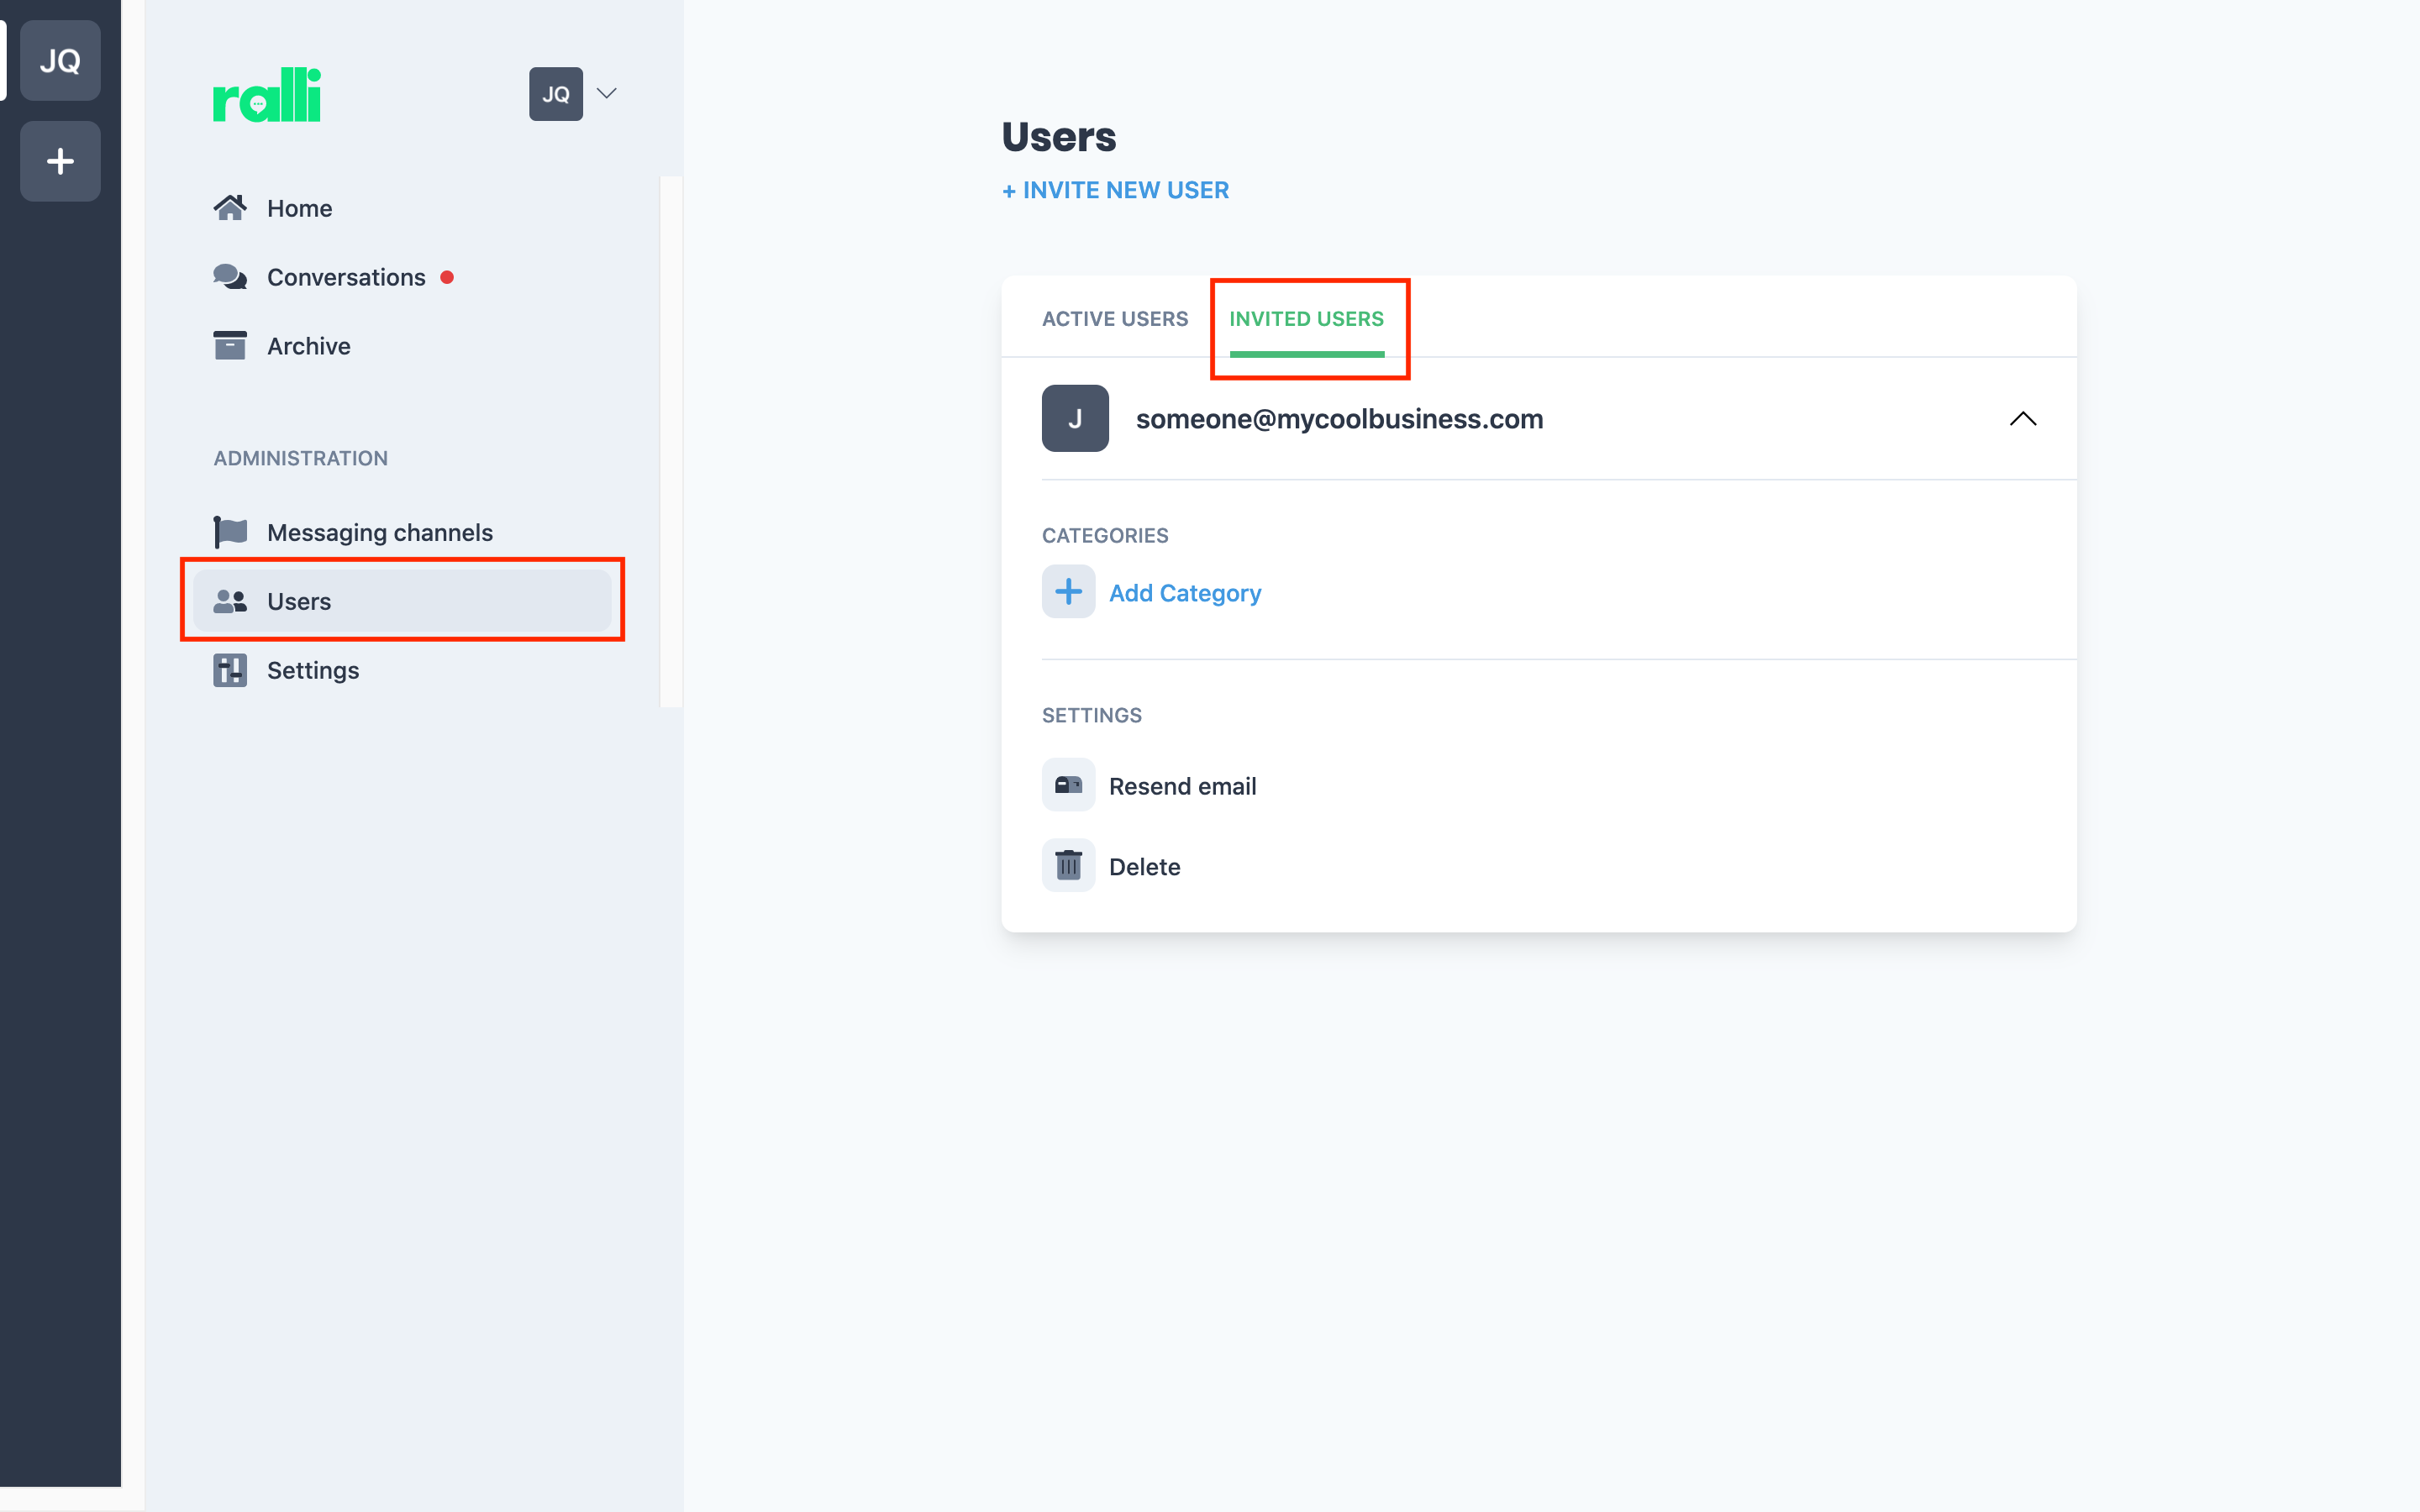
From the user display, you can resend the email (if it has gone walkabouts...) or delete the user/invite (if you've invited them by mistake, or they will no longer be needing access to the platform). In either case, the original email will no longer work for the user, so please be careful with tampering with this too much as it can be a little confusing for non-technical users!
You can also manage this user's categories (more on this below) ahead of them joining the platform so that they are able to get using the platform straight away.
Managing Active Users
Under the Active Users tab, you can manage a user's admin permission and categories they are subscribed to.
Admin Permissions
Under a user's toggle, check or uncheck the Admin setting.
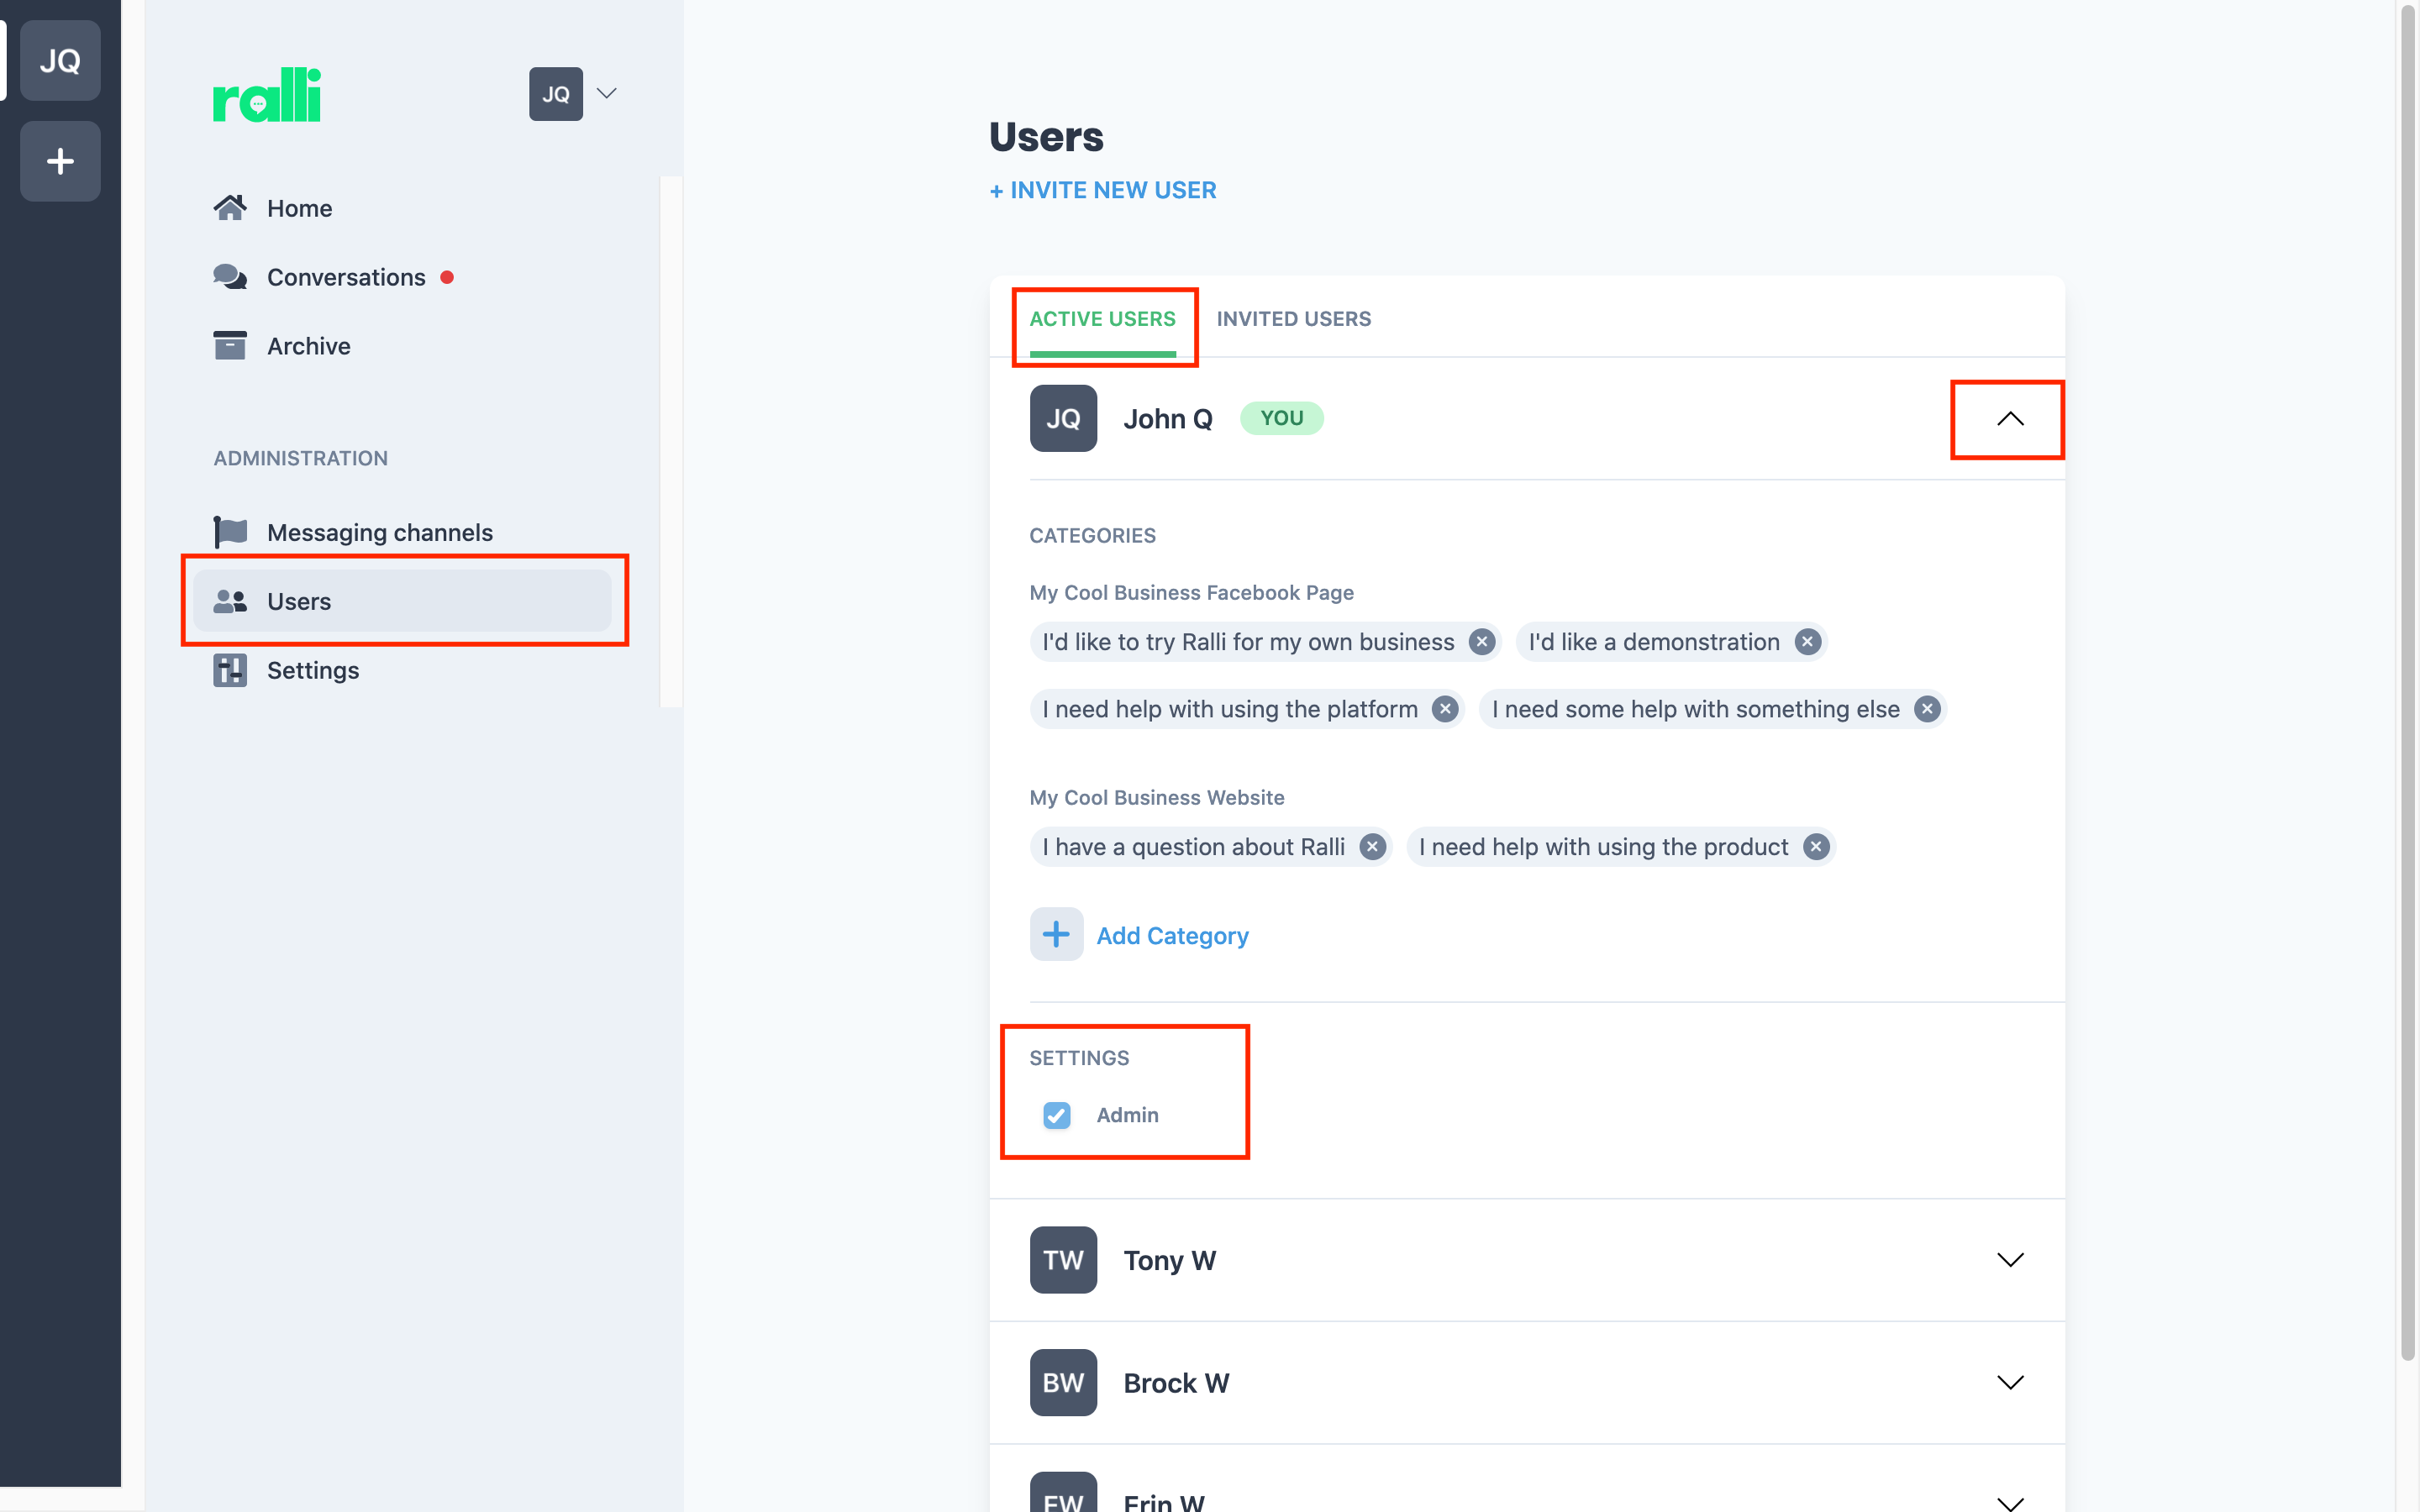
By default, users are not platform administrators (to prevent them from making any erroneous changes to your account).
Toggling them to an administrator will give them the same level of control and visibility over the platform as you do. This means this user will be able to: see analytics, modify categories (and who is subscribed to them), alter billing settings, and modify the chat extensions and plugins.
All admin users will be able to see conversations as they come through to the apps, regardless of whether they are directly subscribed to the category defined for the conversation or not.
Deleting a User
If you need to remove a user from your business, click the Delete button under the their user toggle (in the Settings) section.
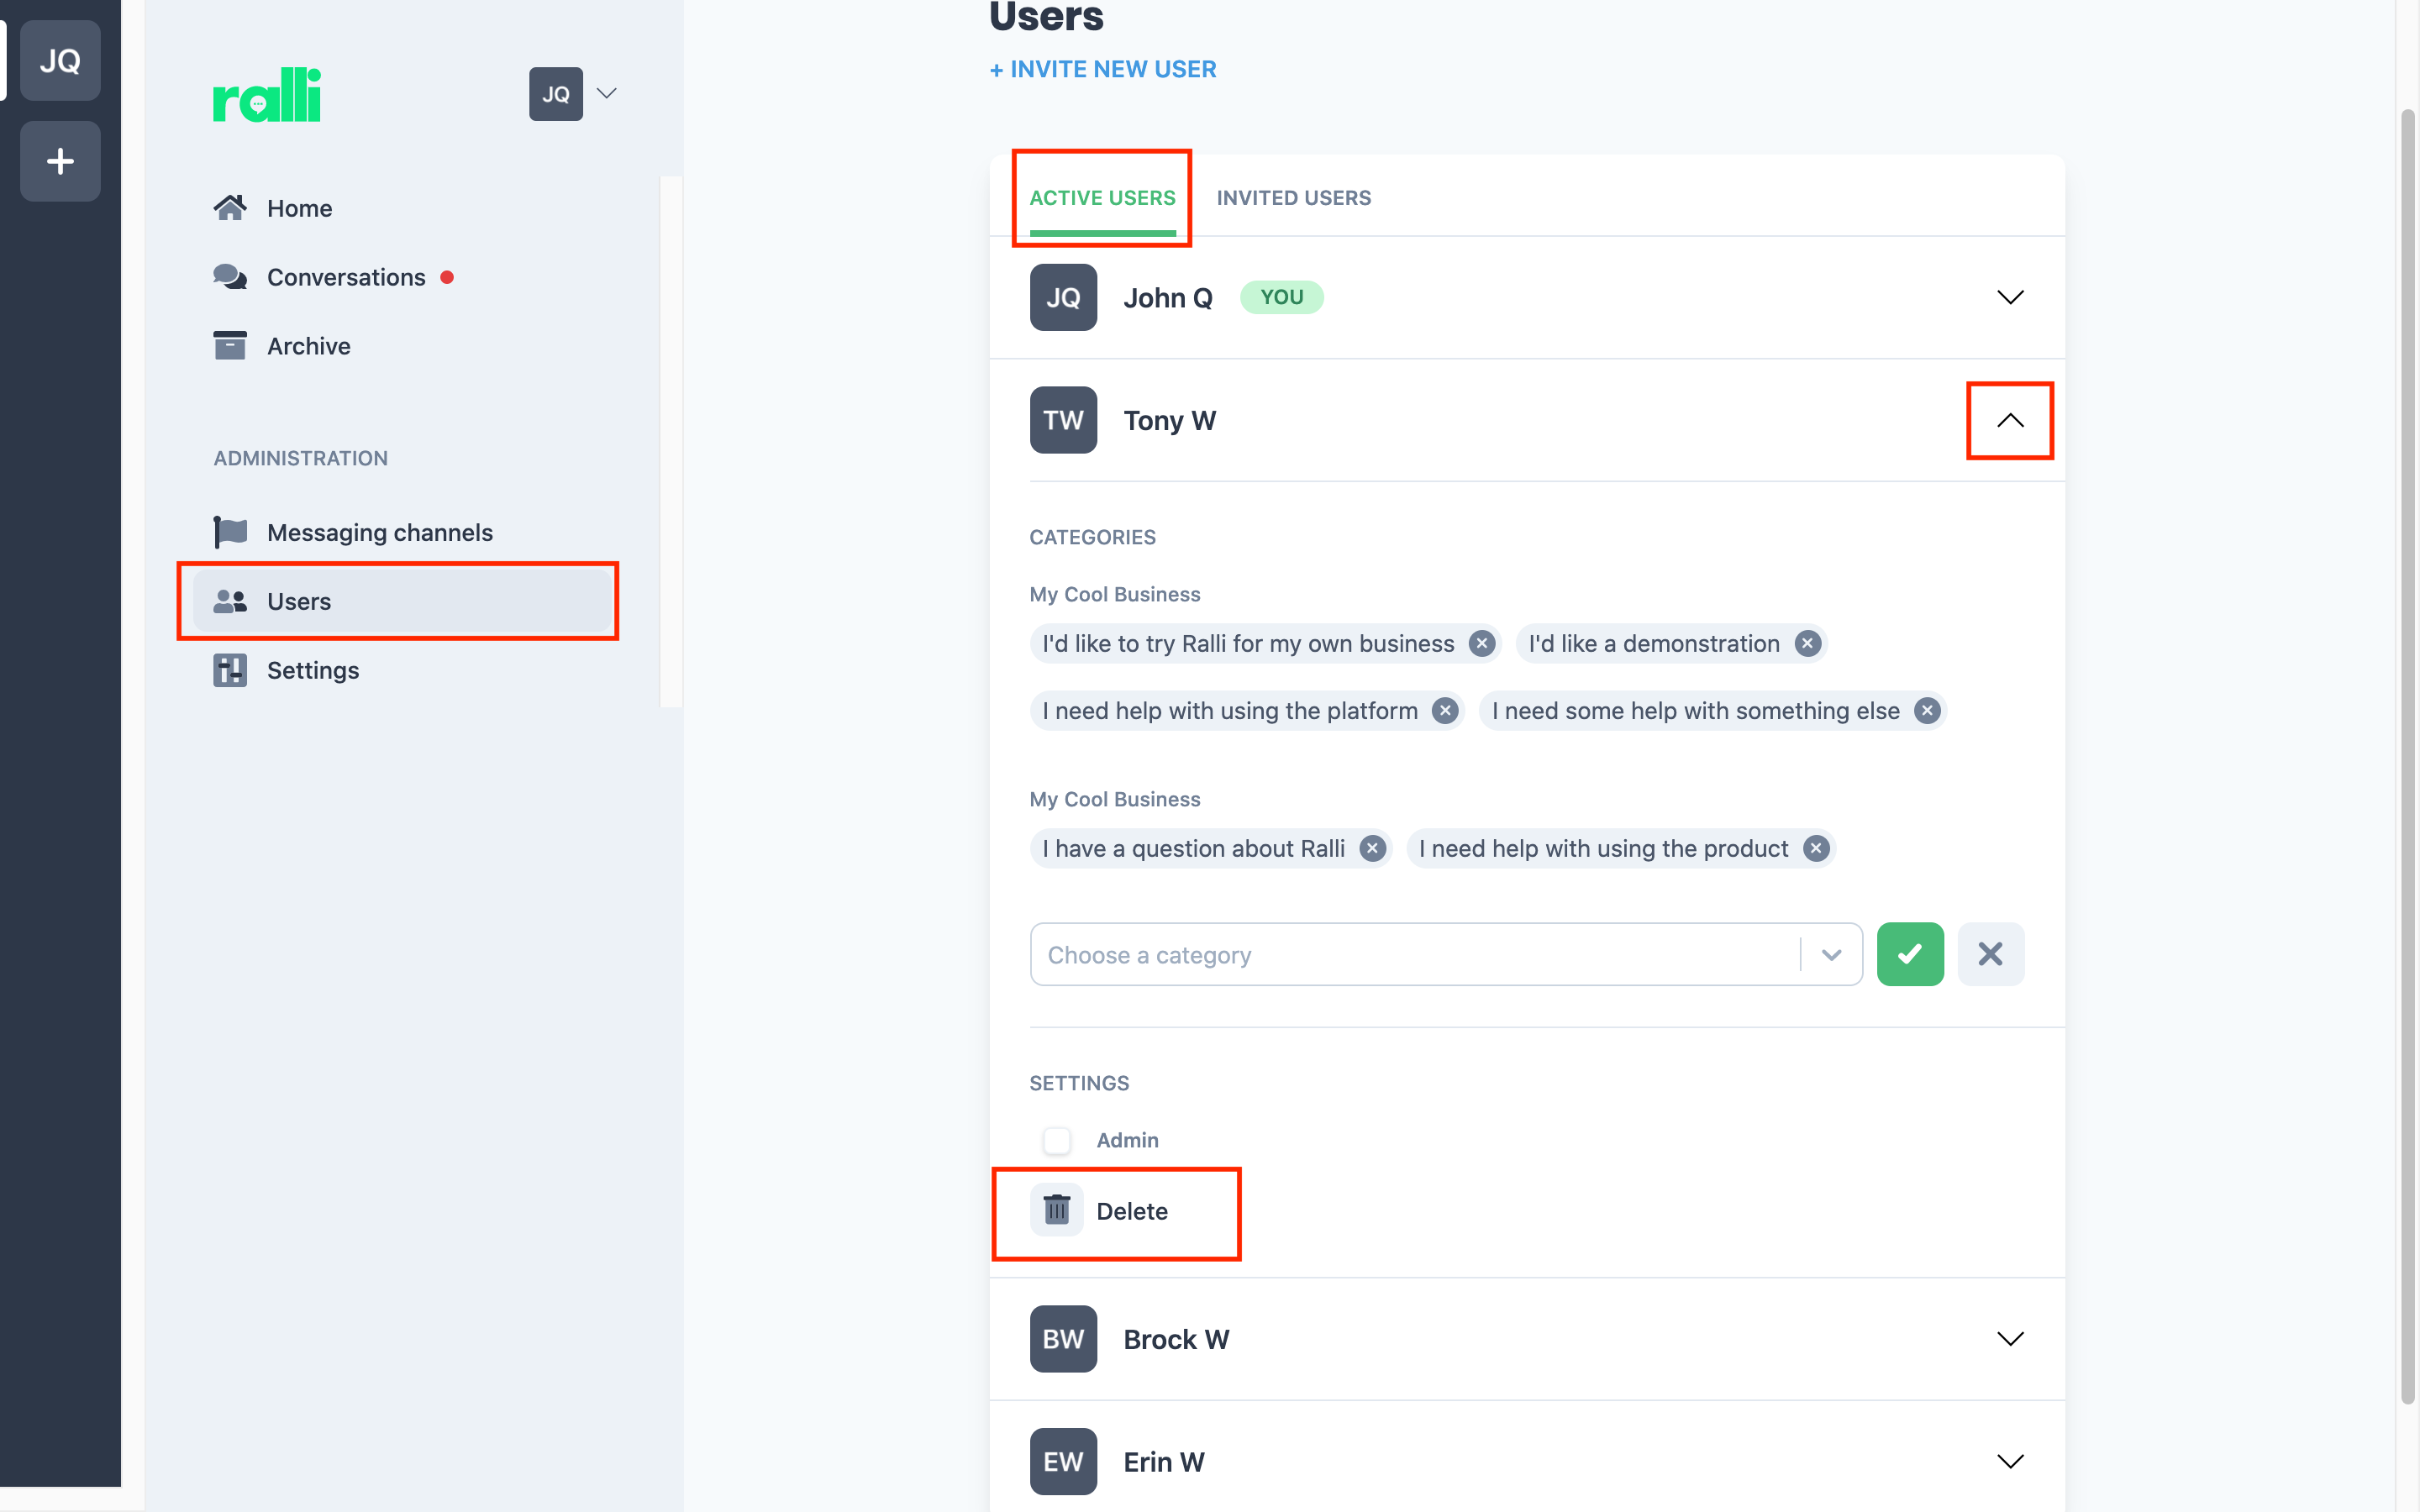
It goes without saying that this is irreversible and effective immediately (although you can always re-invite them later)! Please note that if this user is part way through a conversation and is the only member of that conversation, then the customer may find themselves without someone to talk to!
For safety reasons, you cannot delete yourself - if you would like to be removed from a business, please assign another admin and ask them to do this for you (or reach out to us and we can toggle it for you).
Category Management
Under an Invited or Active user's drop down, you are able to control the types of conversations that this user will be notified with from the pre-triaging system.
If a user is subscribed to a category, and a customer starts a conversation about it, they will be notified about that (and be able to see the other staff in the business who are also involved). If they aren't involved, they won't be notified - allowing those who specialise in a particular topic to focus on the parts of the business most relevant for them.
As different Messaging Channels are allowed to have different categories, you can manage a user's subscription to categories by relevant page through their user toggle.
Ralli User Management
Opens in a new tab
Open the user management dashboard and open the user dropdown of the user you wish to manage.
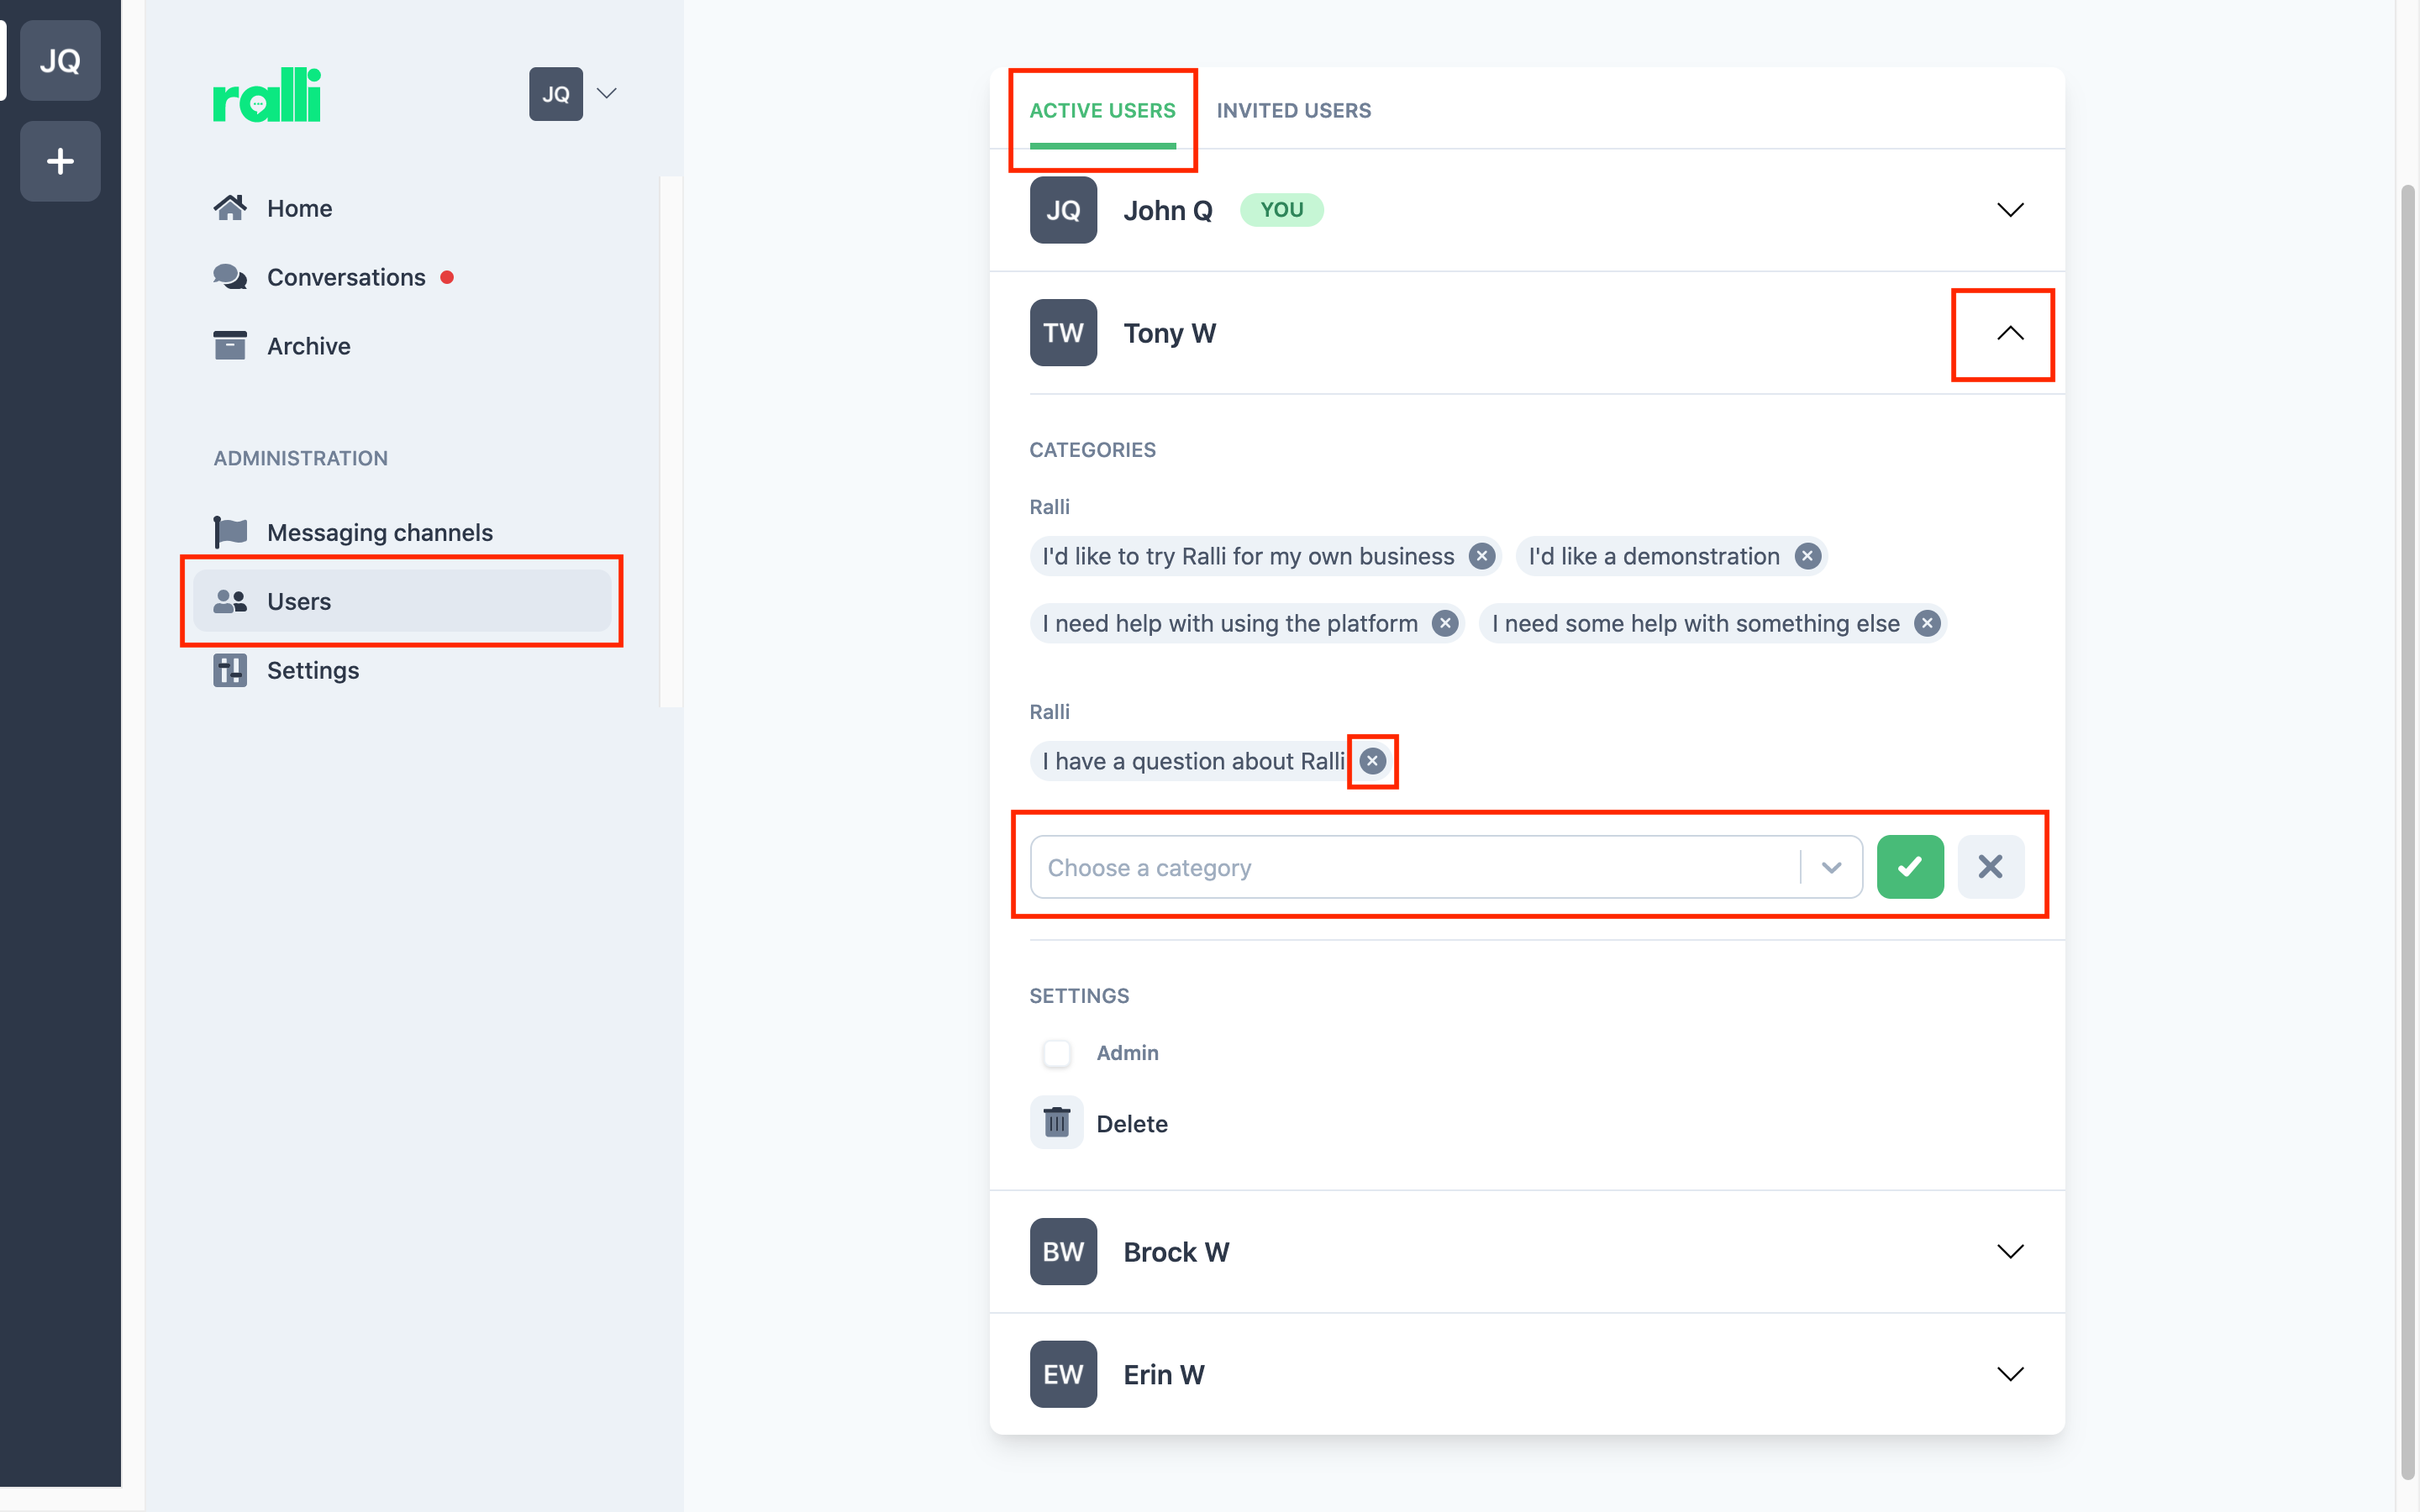
Select the category/categories to add a user to, or delete them from a subscribed category.
Each Messaging Channel has its own concept of categories, and so it may be appropriate that a user deals with messages coming through from Facebook, and not your website - or you may choose that this individual is better suited serving a different set of categories altogether.
Please note: the effect is not applied retroactively, so if they are already part of a conversation they will remain in that conversation even if you remove them from this category here. To remove them from the conversation, you will need to navigate into that conversation and manage them there specifically.
Learn more about categories and how to set them up for your business in these articles.